Nginx
Overview
In this guide we will use Nginx as a reverse proxy for requests to Remnawave. We will redirect a domain to our server, issue a SSL certificate and configure Nginx. Complete Quick Start and Env Variables before continuing.
Configuration
Requirements:
- Completed Quick Start
- Completed Env Variables
- Registered domain name (e.g.
my-super-panel.com)
You should have a registered domain name to continue.
Point domain to your server
Check out your server IP address, it is better to use a static IPv4 address.
Now, you need to point your domain to your server.
For example, it will be my-super-panel.com -> 193.122.122.122.
There are two ways to do this:
- Use a DNS provider (e.g. Cloudflare, Google Cloud, etc.)
- Use a registrar (e.g. Namecheap, etc.)
DNS provider
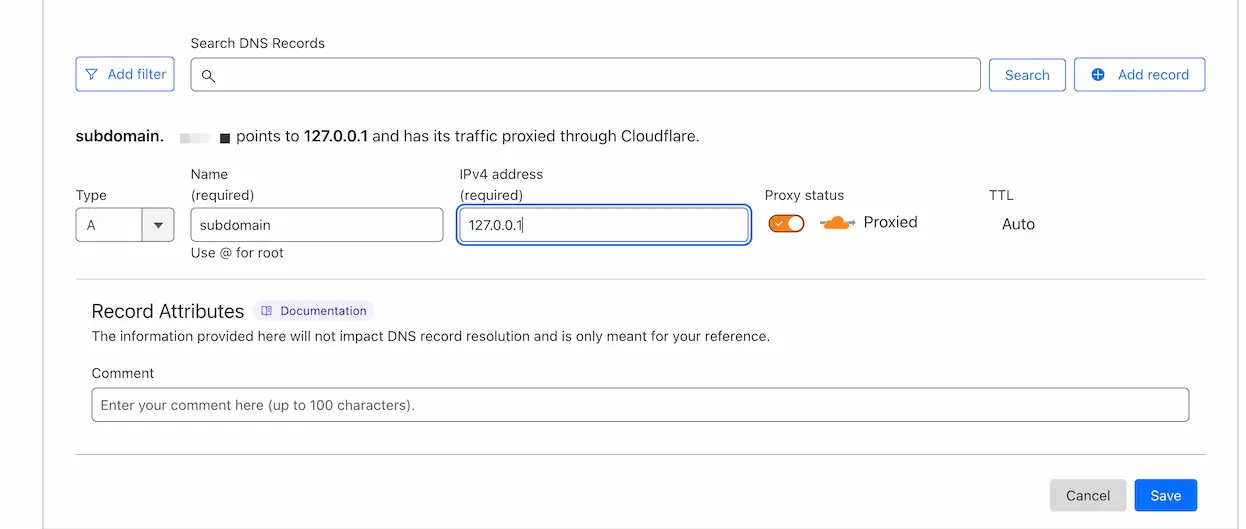
If you use Cloudflare, you need to add a record to your DNS.
Log in to your Cloudflare account here. Select domain, which you want to point to your server.
On the left side of the page, click on DNS and then click on Records.
Click on Create record.
Select Type as A and Name as @.
If you want to use subdomains, you should write subdomain name (e.g. panel) in the Name field.
In the IPv4 address field, you should write your server IP address.
Click on Save.
Now, you need to wait for the DNS to be updated.
There are a big difference between yellow cloud (domain is proxied with Cloudflare) and grey cloud (domain is not proxied with Cloudflare) in the Cloudflare control panel.
We will return later to this topic in this guide, but for now it really depends on you.
If Cloudflare works fine in your region, it is better to proxy the domain with Cloudflare. (Yellow cloud)
Some DNS providers have a different interface, but the process is the same.
Issue an SSL certificate
Now, you need to issue an SSL certificate.
The most easy way is to use acme.sh.
This guide will cover only issuing SSL certificate for the domain of the panel.
Install dependencies
sudo apt-get install cron socat
Install acme.sh
You can use any email address to issue the certificate, but it is recommended to use a valid email address.
Replace EMAIL with your email address.
curl https://get.acme.sh | sh -s email=EMAIL && source ~/.bashrc
Create a folder for the certificates
mkdir -p /opt/remnawave/nginx && cd /opt/remnawave/nginx
Issue a certificate
Replace DOMAIN with your domain name, which you want to issue a certificate for.
Do not use domain zones: .ru, .su, .рф. Currently ZeroSSL does not support these zones.
acme.sh --issue --standalone -d 'DOMAIN' --key-file /opt/remnawave/nginx/privkey.key --fullchain-file /opt/remnawave/nginx/fullchain.pem --alpn --tlsport 8443
Make sure that you have a 8443 port open on your server, it is used for the certificate issuance.
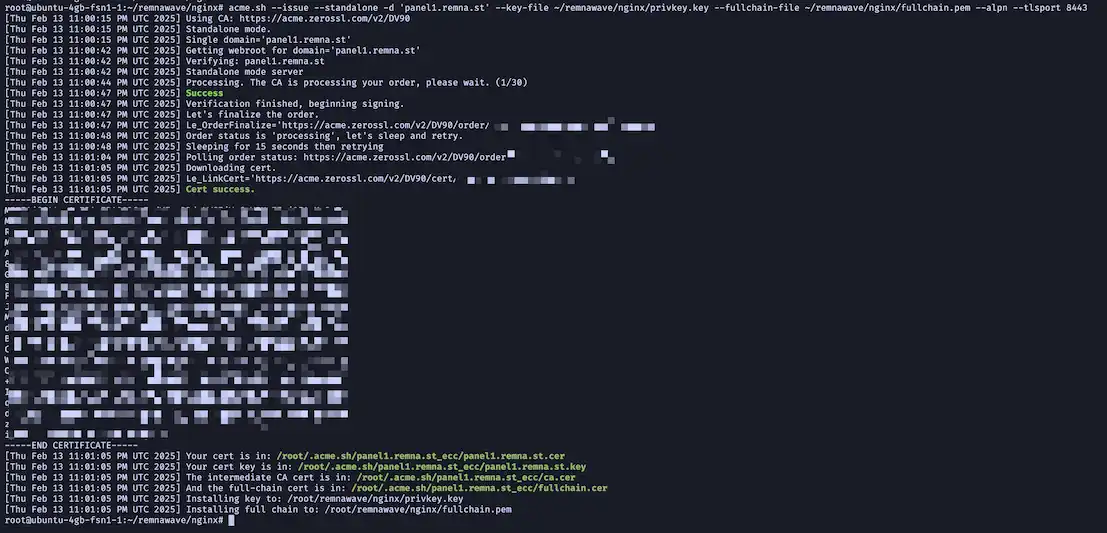
This screenshot shows that the certificate is issued.
Acme.sh will take care of renewing the certificate automatically every 60 days, just make sure that you have a 8443 port open (and not busy) on your server.
Nginx configuration
Simple configuration
Also, we need to generate a dhparam.pem file.
curl https://ssl-config.mozilla.org/ffdhe2048.txt > /opt/remnawave/nginx/dhparam.pem
Create a file nginx.conf in the /opt/remnawave/nginx folder.
cd /opt/remnawave/nginx && nano nginx.conf
Paste the following configuration.
Please, replace REPLACE_WITH_YOUR_DOMAIN with your domain name.
Review configuration below, look for red highlighted lines.
upstream remnawave {
    server remnawave:3000;
}

# Connection header for WebSocket reverse proxy
map $http_upgrade $connection_upgrade {
    default upgrade;
    "" close;
}

server {
    server_name REPLACE_WITH_YOUR_DOMAIN;

    listen 443 ssl reuseport;
    listen [::]:443 ssl reuseport;
    http2 on;

    location / {
        proxy_http_version 1.1;
        proxy_pass http://remnawave;
        proxy_set_header Host $host;
        proxy_set_header Upgrade $http_upgrade;
        proxy_set_header Connection $connection_upgrade;
        proxy_set_header X-Real-IP $remote_addr;
        proxy_set_header X-Forwarded-For $proxy_add_x_forwarded_for;
        proxy_set_header X-Forwarded-Proto $scheme;
        proxy_set_header X-Forwarded-Host $host;
        proxy_set_header X-Forwarded-Port $server_port;

        proxy_send_timeout 60s;
        proxy_read_timeout 60s;
    }

    # SSL Configuration (Mozilla Intermediate Guidelines)
    ssl_protocols TLSv1.2 TLSv1.3;
    ssl_ecdh_curve X25519:prime256v1:secp384r1;
    ssl_ciphers ECDHE-ECDSA-AES128-GCM-SHA256:ECDHE-RSA-AES128-GCM-SHA256:ECDHE-ECDSA-AES256-GCM-SHA384:ECDHE-RSA-AES256-GCM-SHA384:ECDHE-ECDSA-CHACHA20-POLY1305:ECDHE-RSA-CHACHA20-POLY1305:DHE-RSA-AES128-GCM-SHA256:DHE-RSA-AES256-GCM-SHA384:DHE-RSA-CHACHA20-POLY1305;
    ssl_prefer_server_ciphers off;

    ssl_session_timeout 1d;
    ssl_session_cache shared:MozSSL:10m; # ~40,000 sessions
    ssl_dhparam "/etc/nginx/ssl/dhparam.pem";
    ssl_certificate "/etc/nginx/ssl/fullchain.pem";
    ssl_certificate_key "/etc/nginx/ssl/privkey.key";

    # OCSP Stapling
    ssl_stapling on;
    ssl_stapling_verify on;
    ssl_trusted_certificate "/etc/nginx/ssl/fullchain.pem";
    resolver 1.1.1.1 1.0.0.1 8.8.8.8 8.8.4.4 208.67.222.222 208.67.220.220;

    # HTTP Strict Transport Security (HSTS)
    proxy_hide_header Strict-Transport-Security;
    add_header Strict-Transport-Security "max-age=15552000" always;

    # Gzip Compression
    gzip on;
    gzip_vary on;
    gzip_proxied any;
    gzip_comp_level 6;
    gzip_buffers 16 8k;
    gzip_http_version 1.1;
    gzip_min_length 256;
    gzip_types
    application/atom+xml
    application/geo+json
    application/javascript
    application/x-javascript
    application/json
    application/ld+json
    application/manifest+json
    application/rdf+xml
    application/rss+xml
    application/xhtml+xml
    application/xml
    font/eot
    font/otf
    font/ttf
    image/svg+xml
    text/css
    text/javascript
    text/plain
    text/xml;
}

server {
    listen 443 ssl default_server;
    listen [::]:443 ssl default_server;
    server_name _;

    ssl_reject_handshake on;
}
Create docker-compose.yml
Create a file docker-compose.yml in the /opt/remnawave/nginx folder.
cd /opt/remnawave/nginx && nano docker-compose.yml
Paste the following configuration.
services:
    remnawave-nginx:
        image: nginx:1.26
        container_name: remnawave-nginx
        hostname: remnawave-nginx
        volumes:
            - ./nginx.conf:/etc/nginx/conf.d/default.conf:ro
            - ./dhparam.pem:/etc/nginx/ssl/dhparam.pem:ro
            - ./fullchain.pem:/etc/nginx/ssl/fullchain.pem:ro
            - ./privkey.key:/etc/nginx/ssl/privkey.key:ro
        restart: always
        ports:
            - '0.0.0.0:443:443'
        networks:
            - remnawave-network

networks:
    remnawave-network:
        name: remnawave-network
        driver: bridge
        external: true
Start the container
docker compose up -d && docker compose logs -f -t
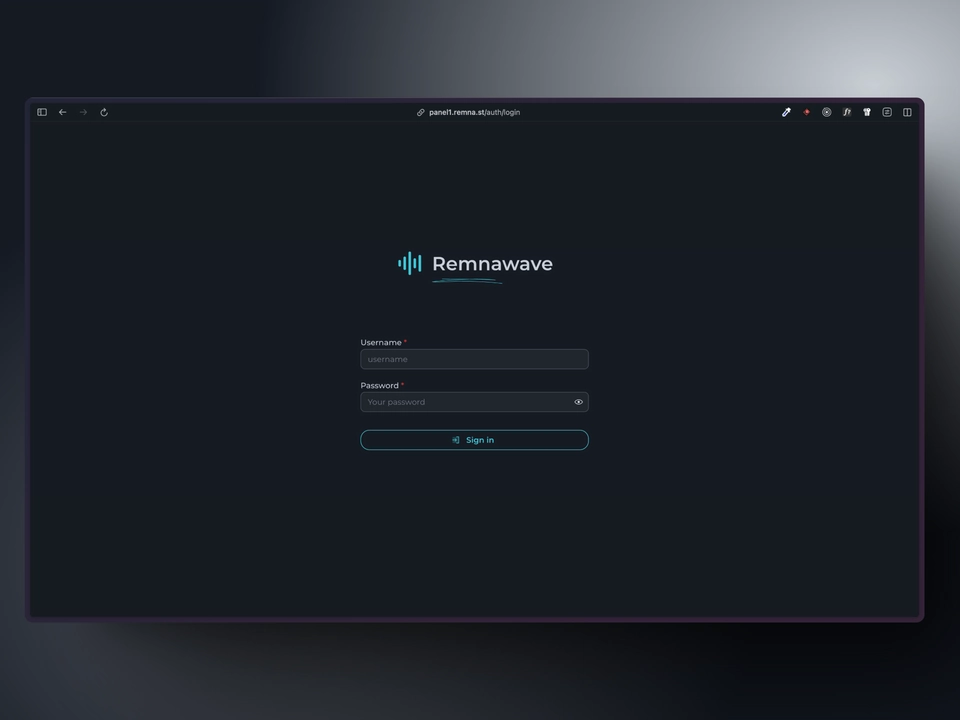
Open the panel in the browser
Open the configured domain name in the browser and you will see login page.