Remnawave Panel
Remnawave Panel is the main component of Remnawave. It is used to manage users, nodes, subscriptions, and more.
Install Docker
Install Docker if not installed yet.
sudo curl -fsSL https://get.docker.com | sh
Step 1 – Download required files
mkdir /opt/remnawave && cd /opt/remnawave
Download docker-compose.yml and .env.sample by running these commands:
curl -o docker-compose.yml https://raw.githubusercontent.com/remnawave/backend/refs/heads/main/docker-compose-prod.yml
curl -o .env https://raw.githubusercontent.com/remnawave/backend/refs/heads/main/.env.sample
Step 2 – Configure the .env file
JWT_AUTH_SECRET and JWT_API_TOKENS_SECRET are used for authentication and related security functions.
Generate secret key by running the following commands:
sed -i "s/^JWT_AUTH_SECRET=.*/JWT_AUTH_SECRET=$(openssl rand -hex 64)/" .env && sed -i "s/^JWT_API_TOKENS_SECRET=.*/JWT_API_TOKENS_SECRET=$(openssl rand -hex 64)/" .env
sed -i "s/^METRICS_PASS=.*/METRICS_PASS=$(openssl rand -hex 64)/" .env && sed -i "s/^WEBHOOK_SECRET_HEADER=.*/WEBHOOK_SECRET_HEADER=$(openssl rand -hex 64)/" .env
It is strongly recommended to change the default Postgres password.
pw=$(openssl rand -hex 24) && sed -i "s/^POSTGRES_PASSWORD=.*/POSTGRES_PASSWORD=$pw/" .env && sed -i "s|^\(DATABASE_URL=\"postgresql://postgres:\)[^\@]*\(@.*\)|\1$pw\2|" .env
Now, open the .env file and update the following variables:
FRONT_END_DOMAINSUB_PUBLIC_DOMAIN
FRONT_END_DOMAIN is the domain name where the panel will be accessible. Enter your domain name here.
Example: panel.yourdomain.com.
SUB_PUBLIC_DOMAIN – for now, just enter your panel domain and add /api/sub to the end.
Example: panel.yourdomain.com/api/sub.
You can find more information about the environment variables in the Environment Variables page.
Step 3 – Start the containers
Start the containers by running the following command:
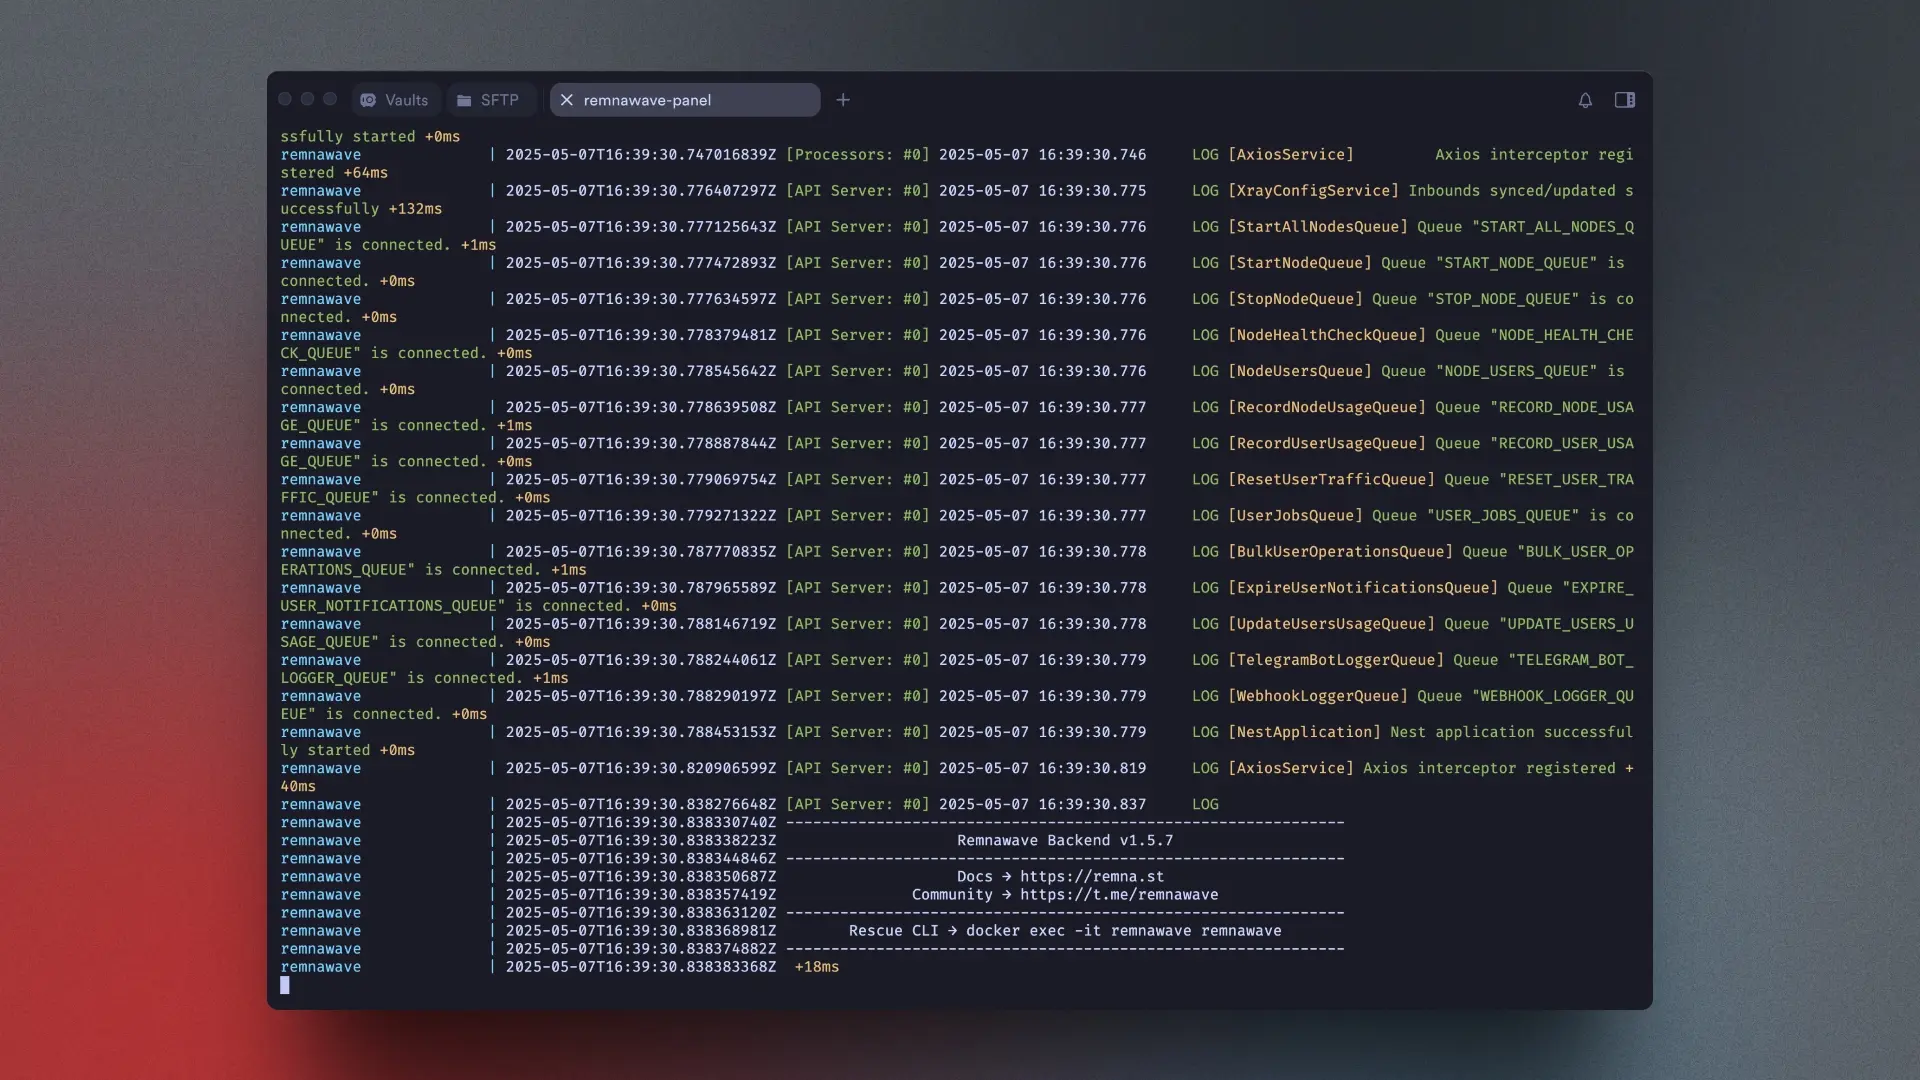
docker compose up -d && docker compose logs -f -t
After a few seconds, you should see output similar to this:
Next Steps
A reverse proxy is required to run Remnawave Panel properly.
Do not expose the services to the public internet. Use only 127.0.0.1 for Remnawave services.
You can now proceed to reverse proxy installation.