OAuth2 Configuration
OAuth2 allows you to authenticate to Remnawave dashboard using one of the configured providers.
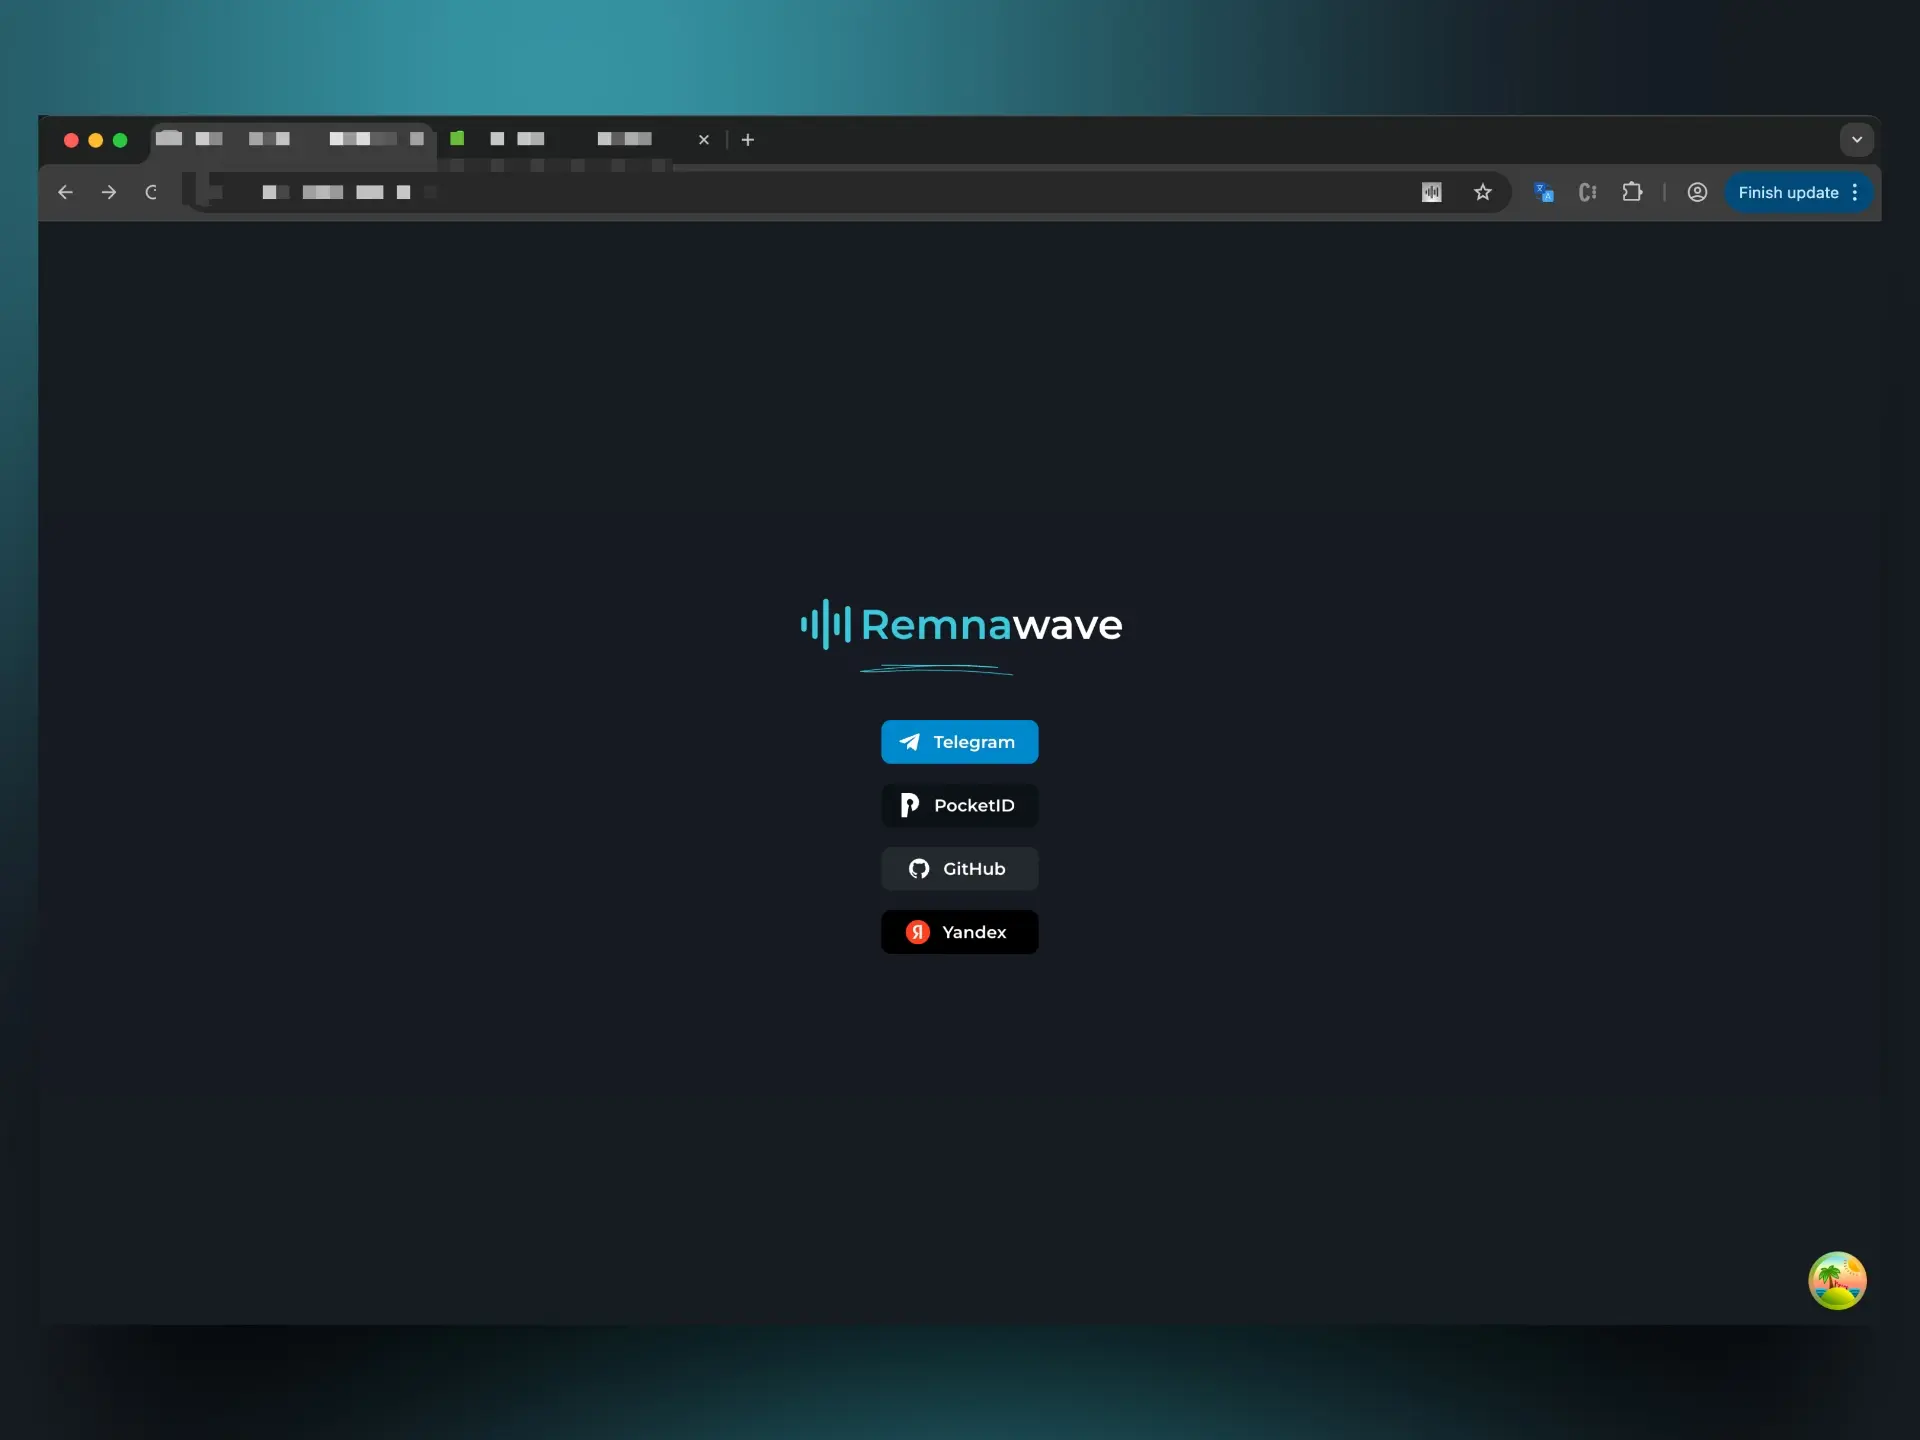
Remnawave supports the following providers:
- Telegram (follow this guide to configure)
- GitHub
- Yandex
- PocketID
Github
Create an OAuth application
You will need to create an OAuth application in Github.
Follow this link to create an application: https://github.com/settings/applications/new
# Replace YOUR_PANEL_DOMAIN with your panel domain
https://YOUR_PANEL_DOMAIN/oauth2/callback/github
Don't forget to set the correct callback URL. Change YOUR_PANEL_DOMAIN to your panel domain.
Configuring OAuth2 in Remnawave
- Open Remnawave Panel and move to
Remnawave Settings->Authentication Methods. - Select desired method and click on it to open configuration.
- Click on
Enablebutton. - Enter Client ID and Client Secret.
- Enter List of allowed emails.
- Click on
Savebutton.
PocketID
Create an OIDC Client
Login to your self-hosted PocketID instance and go to Settings → OIDC Clients → Add OIDC Client.
# Replace YOUR_PANEL_DOMAIN with your panel domain
https://YOUR_PANEL_DOMAIN/oauth2/callback/pocketid
Don't forget to set the correct callback URL. Change YOUR_PANEL_DOMAIN to your panel domain.
Yandex
It is not recommended to use Yandex OAuth2 for self-hosted Remnawave instances.
Create an OAuth application
You will need to create an OAuth application in Yandex.
Follow this link to create an application: https://oauth.yandex.com/client/new
In the second step of creation select "Web application" and set the following callback URL:
# Replace YOUR_PANEL_DOMAIN with your panel domain
https://YOUR_PANEL_DOMAIN/oauth2/callback/yandex
Don't forget to set the correct callback URL. Change YOUR_PANEL_DOMAIN to your panel domain.
In the third step of creation allow "Access to email address", no other permissions are needed.