Config Profiles
This article does not cover how to configure Xray-core itself.
For details on configuration syntax and behavior, refer to the official Xray documentation.
As mentioned earlier, a Config Profile is essentially a full Xray-core configuration "template" for a Node. Each Profile contains everything the Node needs to run — including all Inbounds and general settings.
Let's try creating a new Profile.
Navigate to the Config Profiles section and click Create Config Profile.
After entering a name for the Profile, a configuration editor will open.
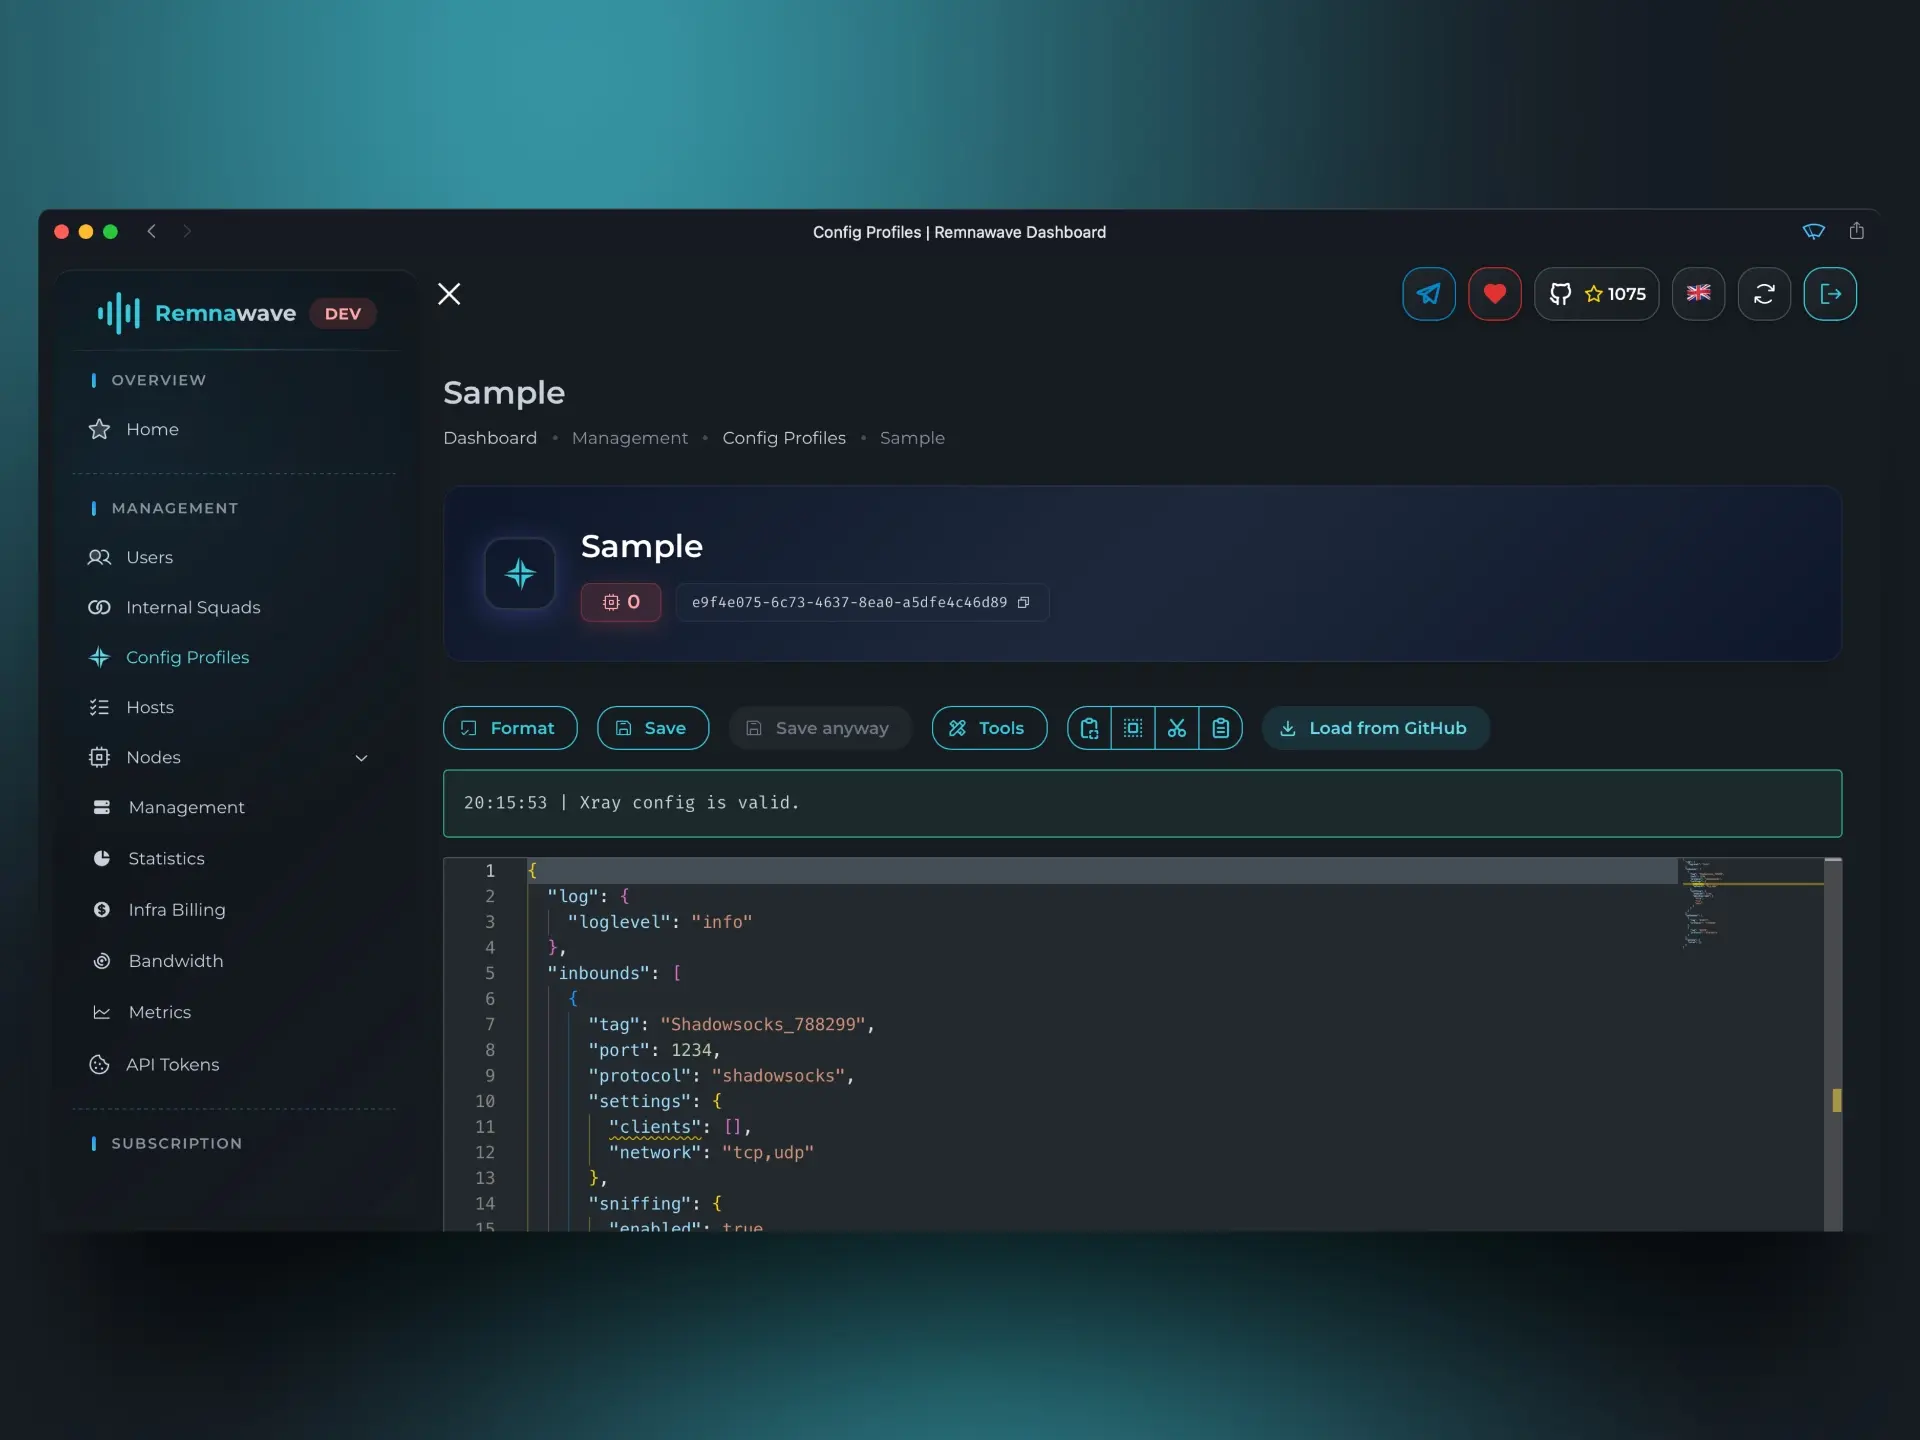
Here you can add or remove Inbounds and adjust any other Xray settings.
For demonstration purposes, let’s load a pre-made template using the Load from GitHub button.
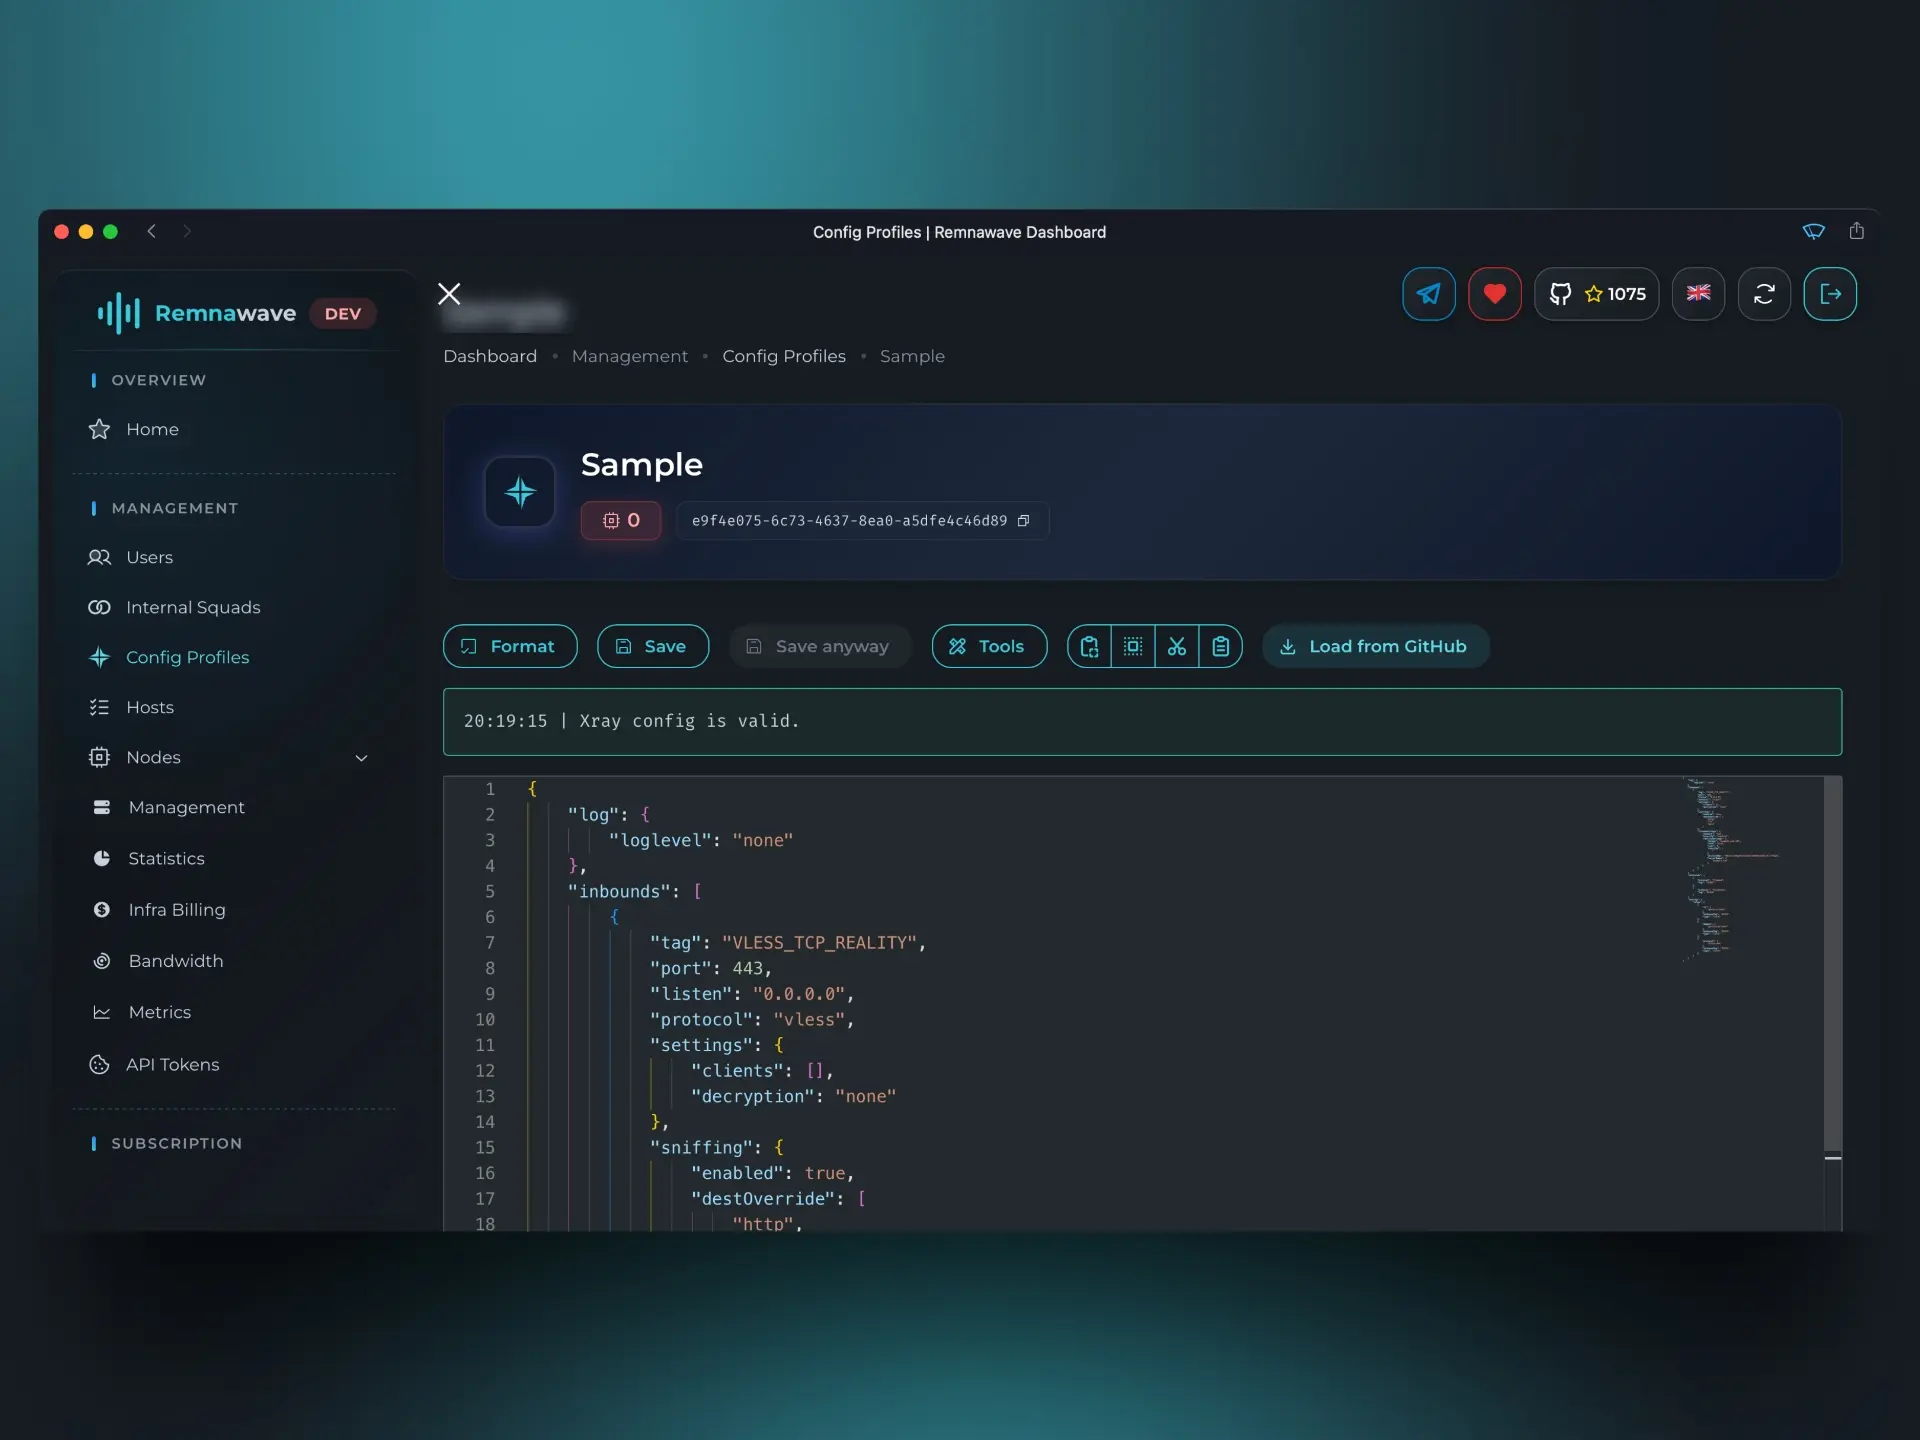
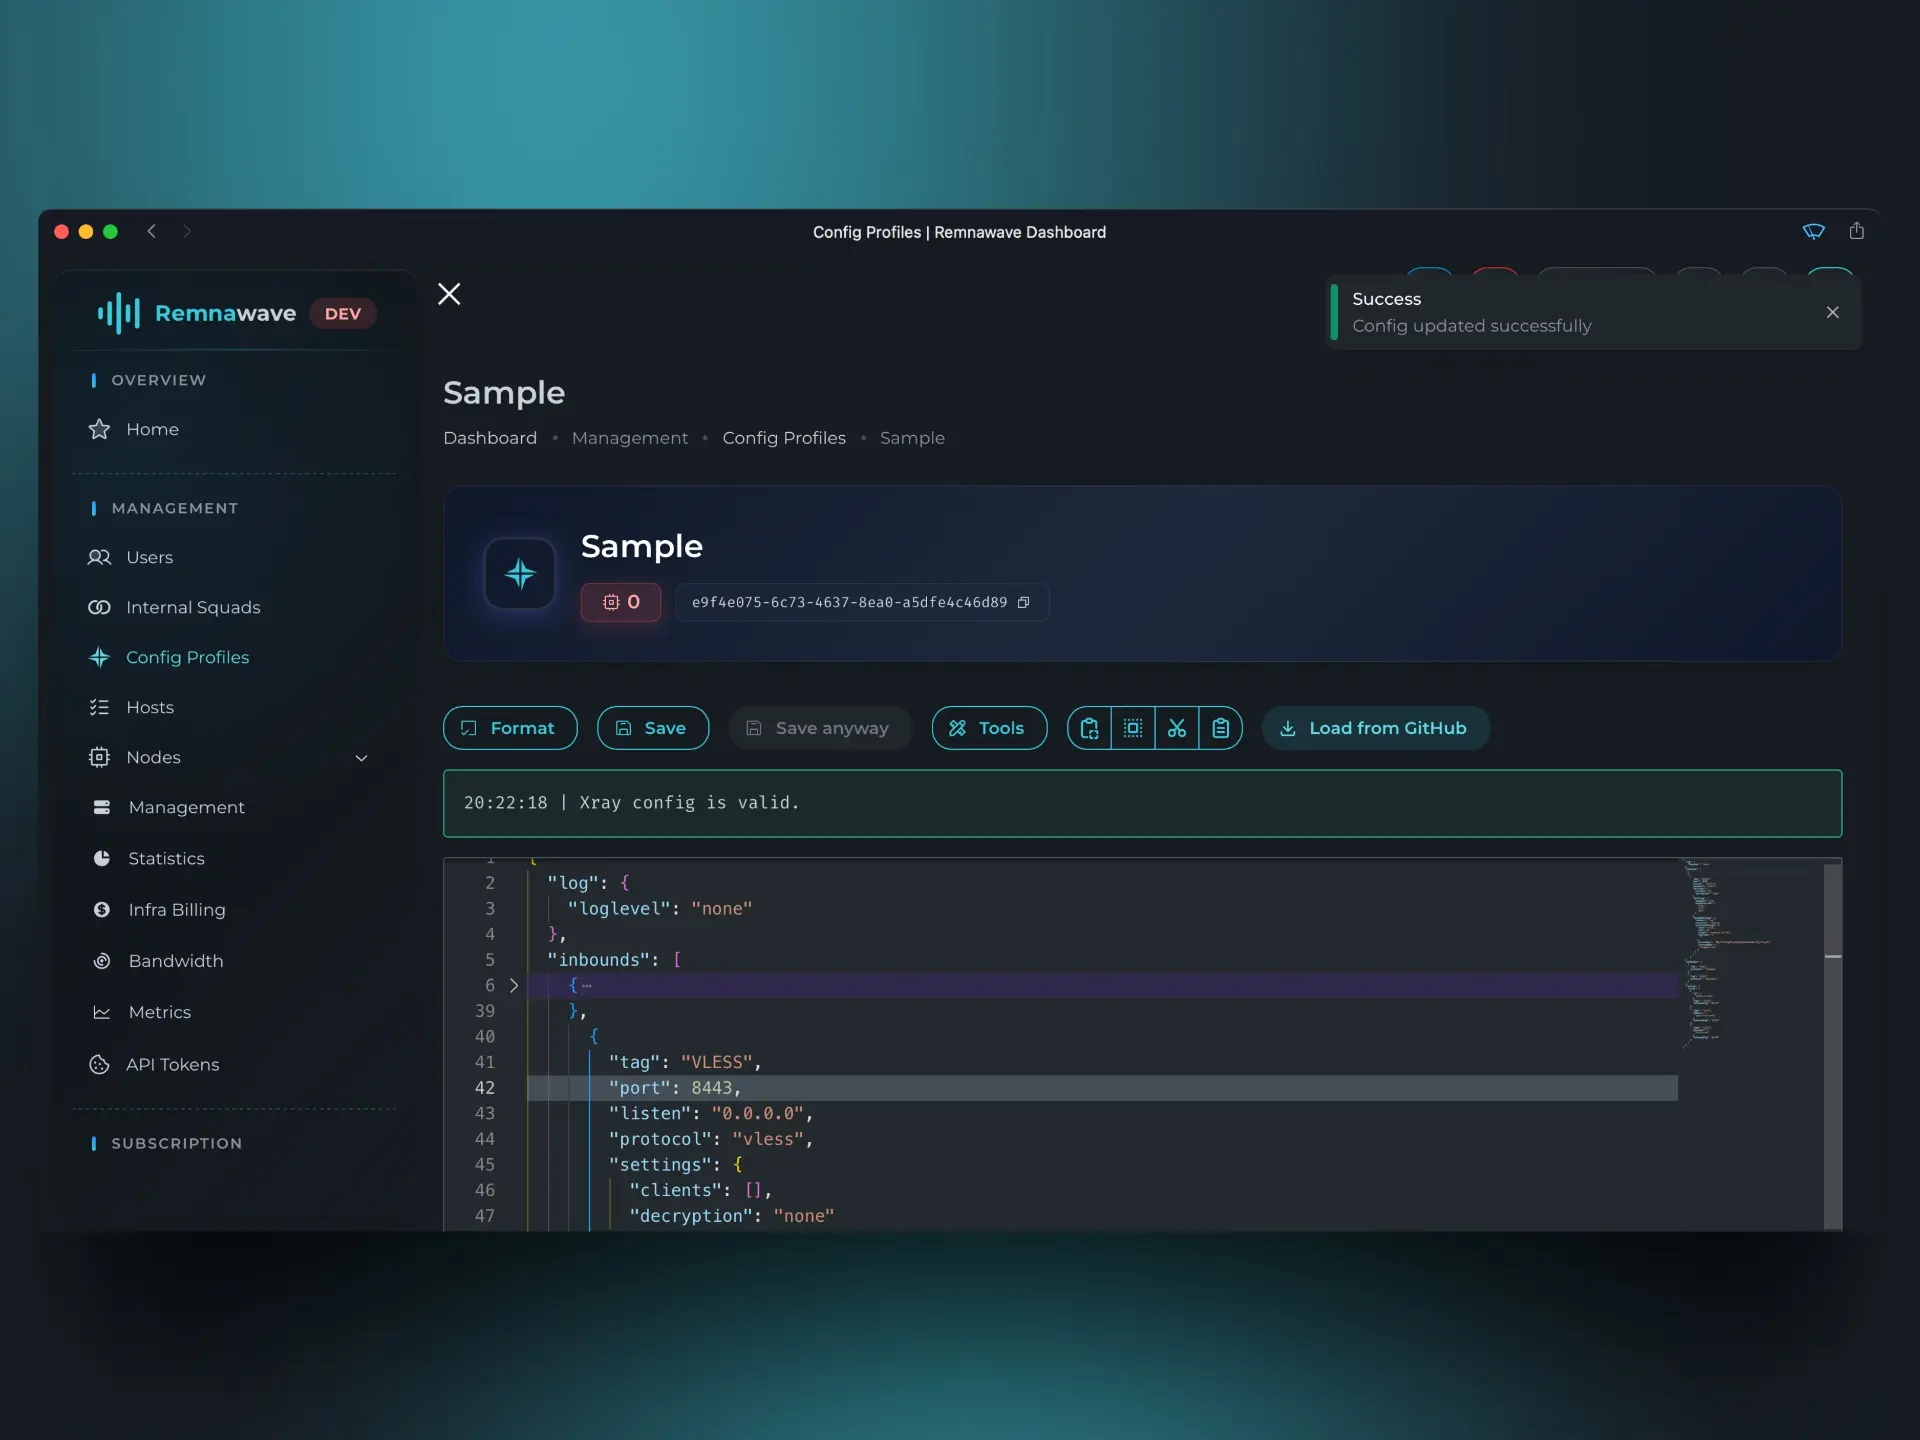
By default, this template only contains one Inbound. Let’s add a second one — VLESS — to the Inbounds array.
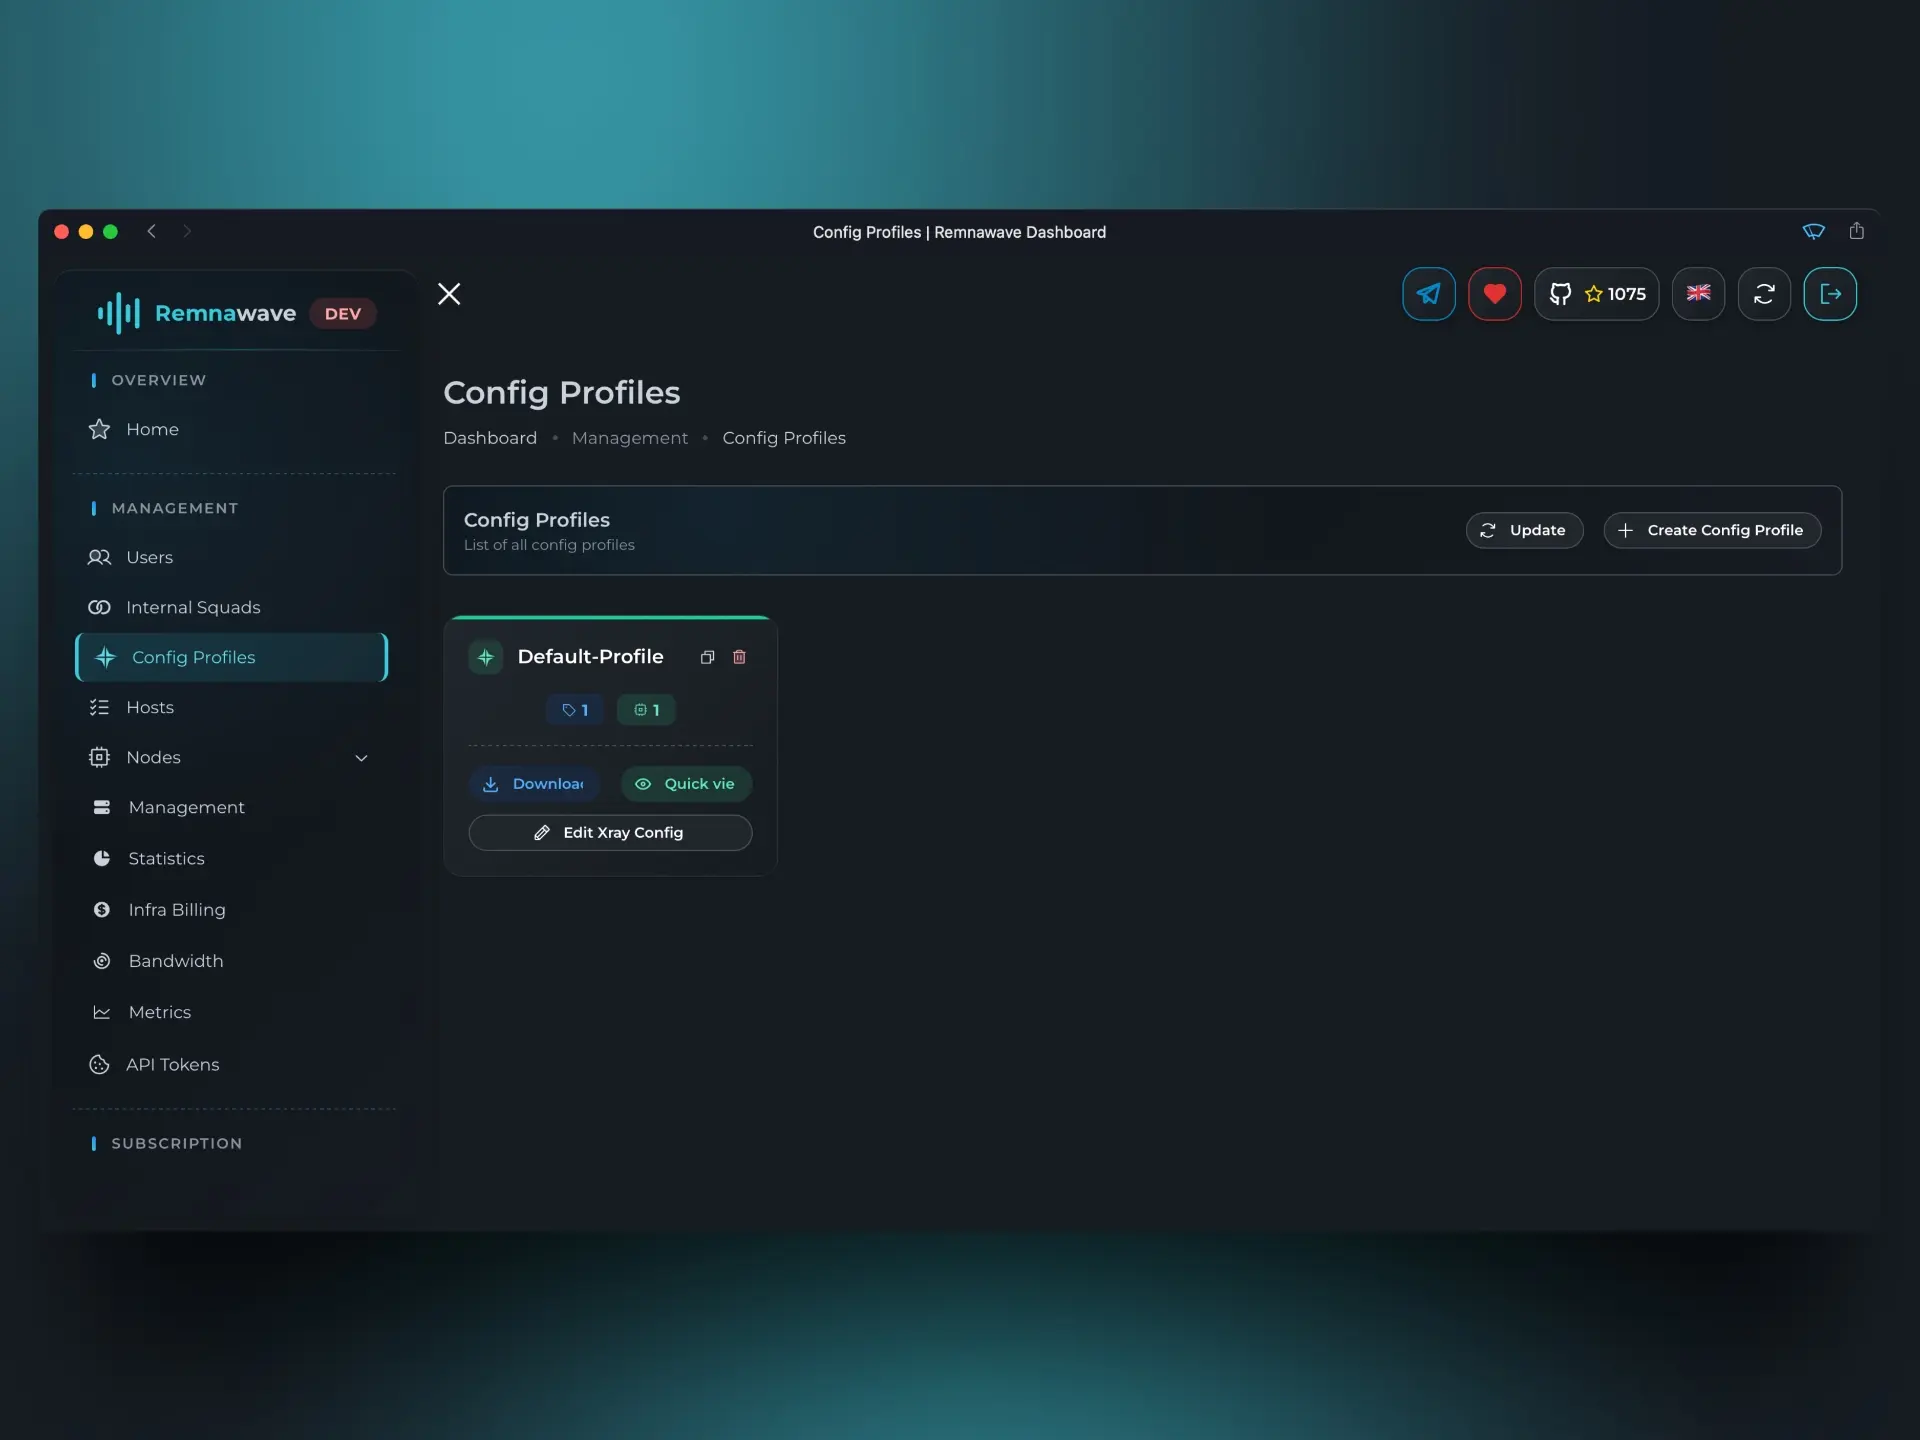
Once you're done, return to the Config Profile list to confirm our new setup.
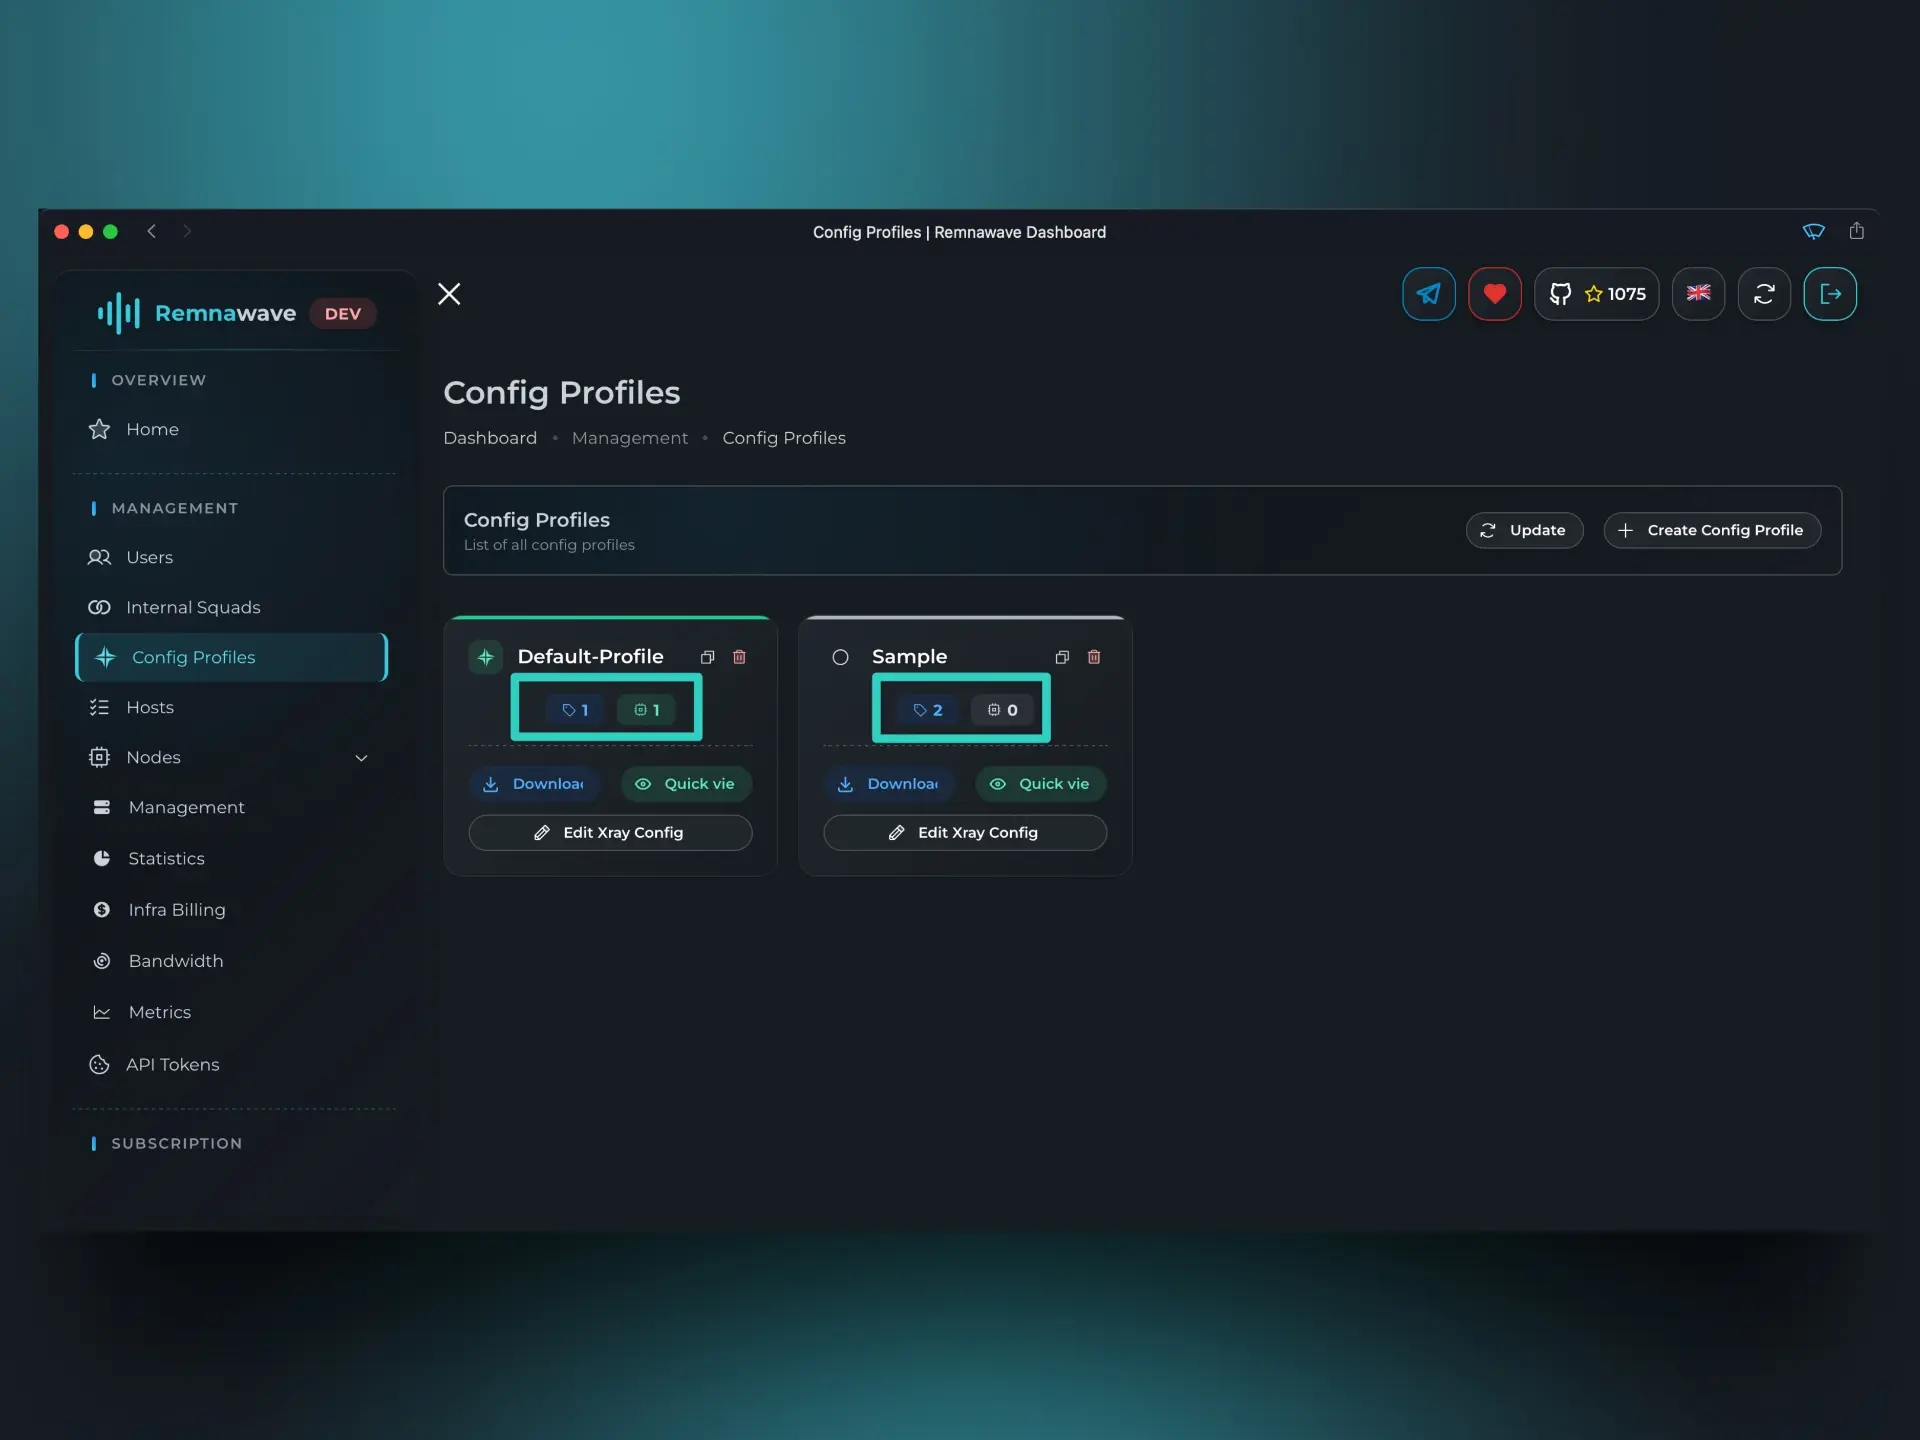
As you can see, the new profile we just created — Sample — has appeared in the list.
Below the profile name, you'll notice two small icons:
- The left icon shows the number of Inbounds defined in the Profile.
- The right icon shows the number of Nodes currently using this Profile.
In our case, the Sample Profile contains 2 Inbounds and is not yet used by any Node.
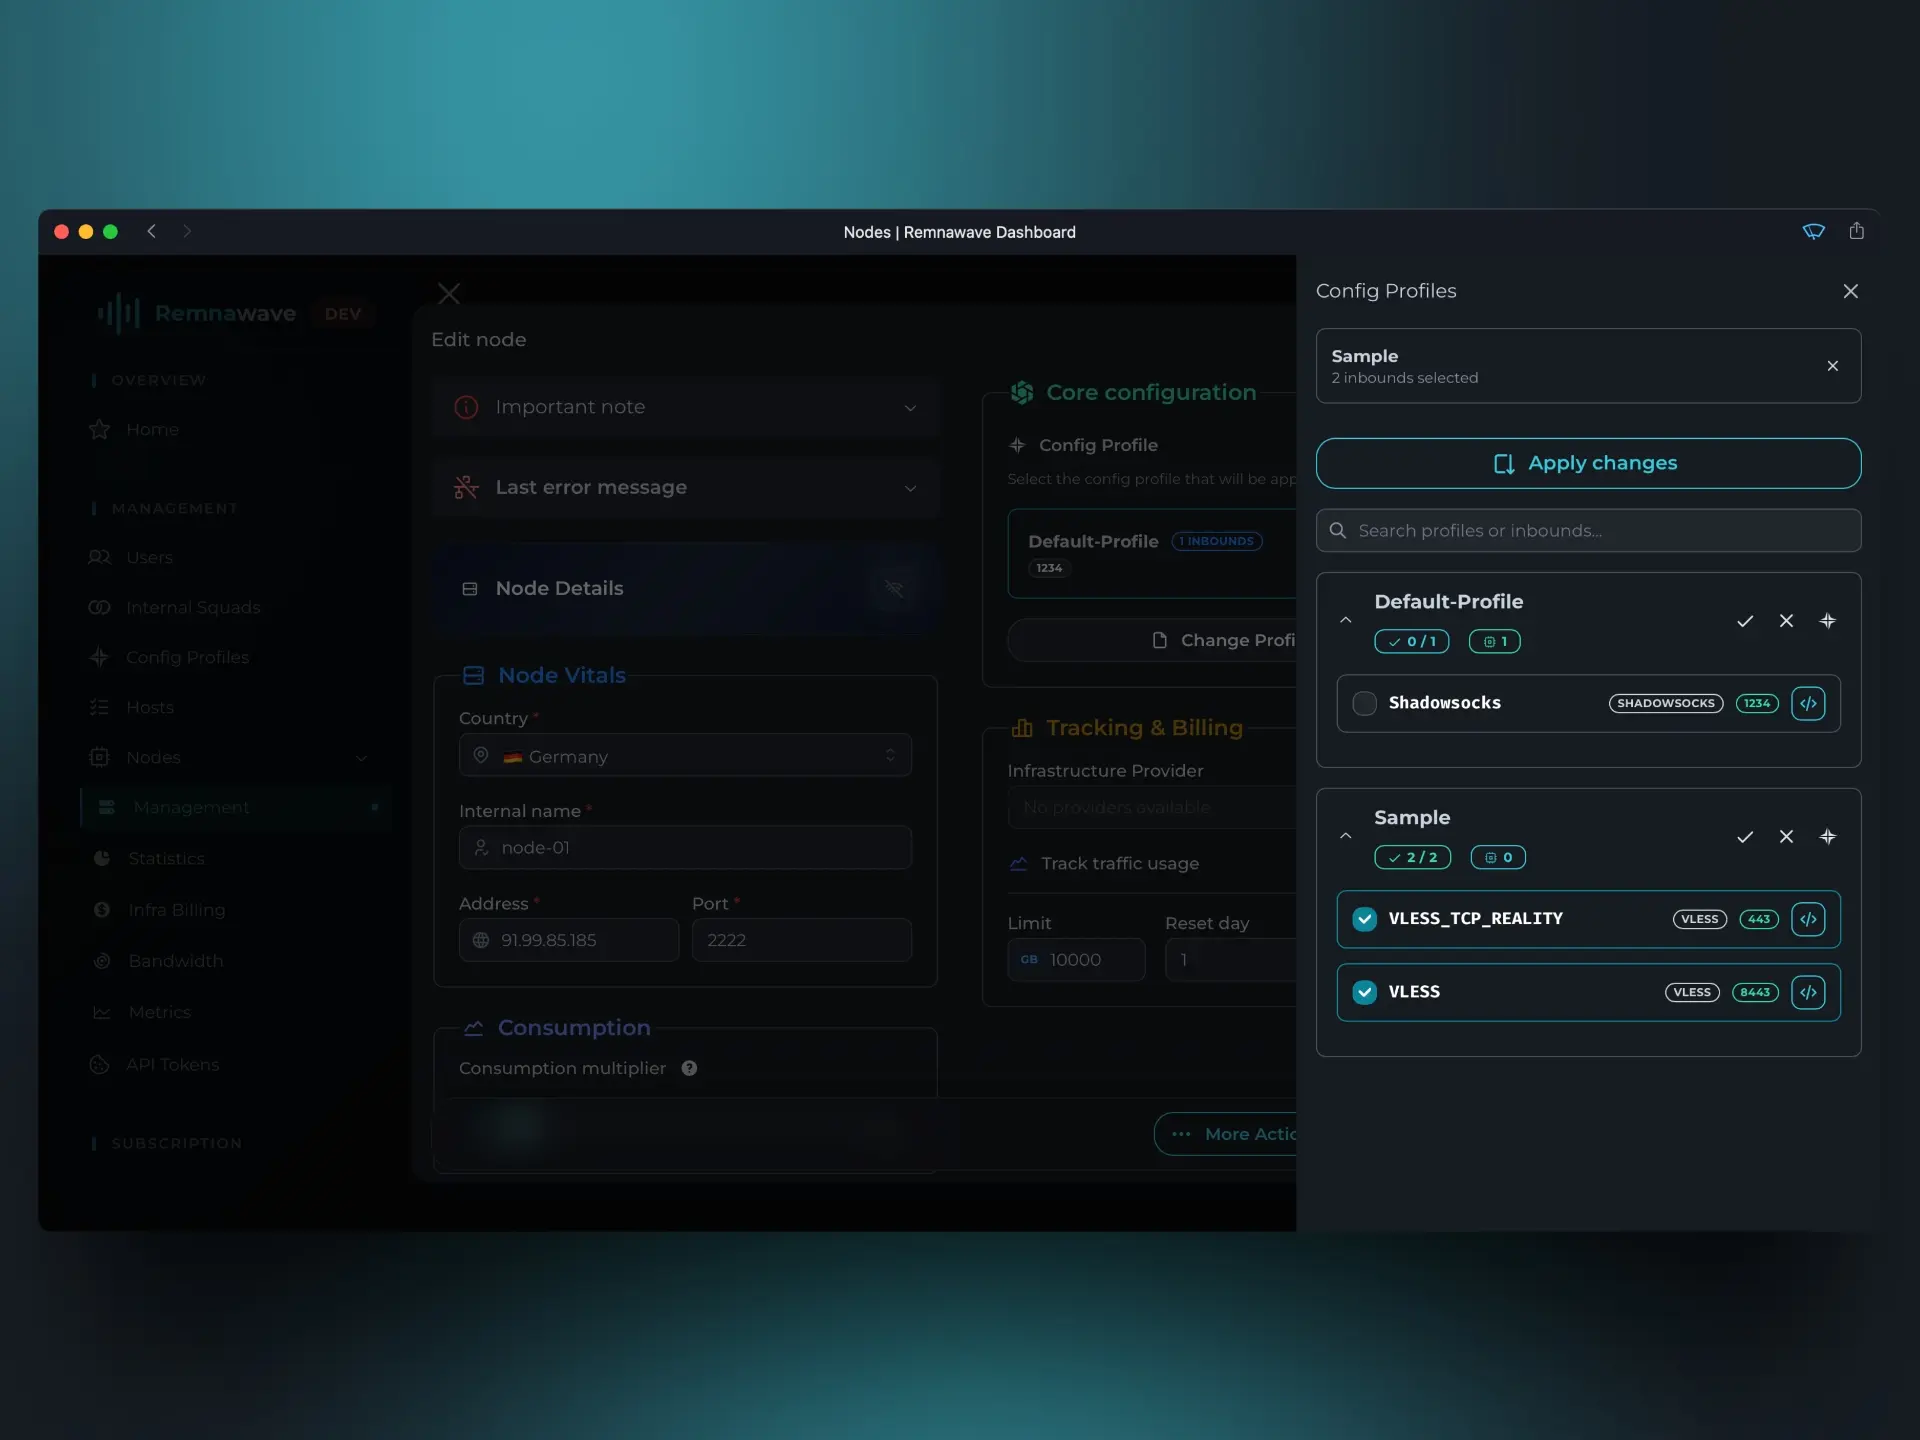
Let’s activate this profile on our Node. Go back to the Node’s settings (Nodes → Management → Node Card → Change Profile), select the new Profile from the list, and enable both of its Inbounds.
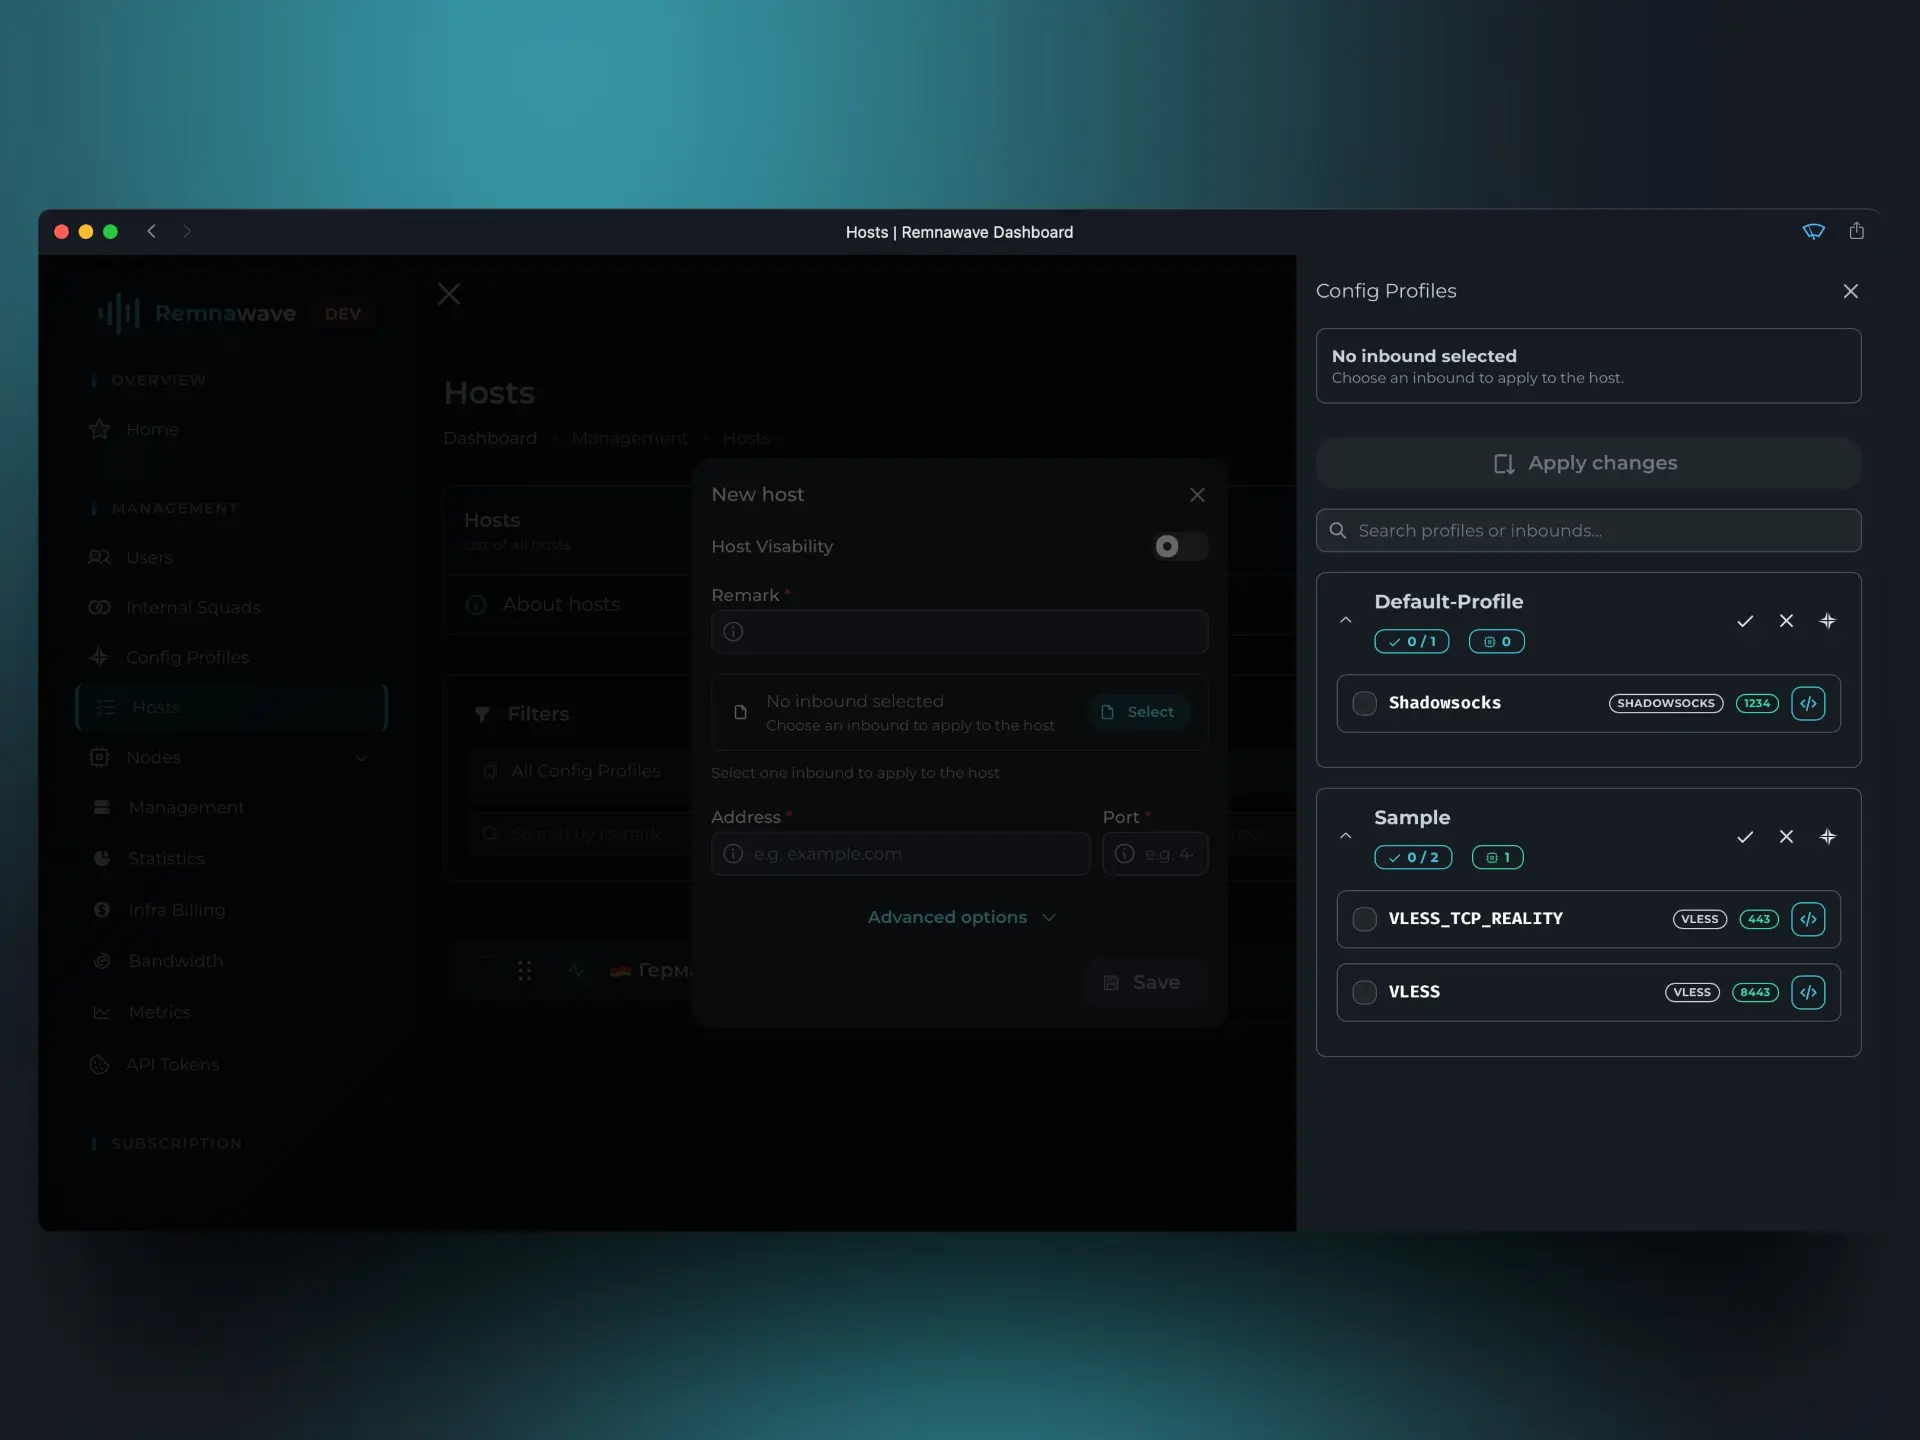
Now that the Node is using the updated profile, head over to the Hosts page.
Whether you're creating a new Host or editing an existing one, you’ll now be able to assign the new Inbounds from this profile to that Host.
However, even though the Node is now using the new Profile and Hosts have been configured, users still won’t have access to the new Inbounds — unless they’re enabled in the relevant Internal Squad.
Let’s fix that.
Navigate to the Internal Squads page and edit the only available squad — Default-Squad.
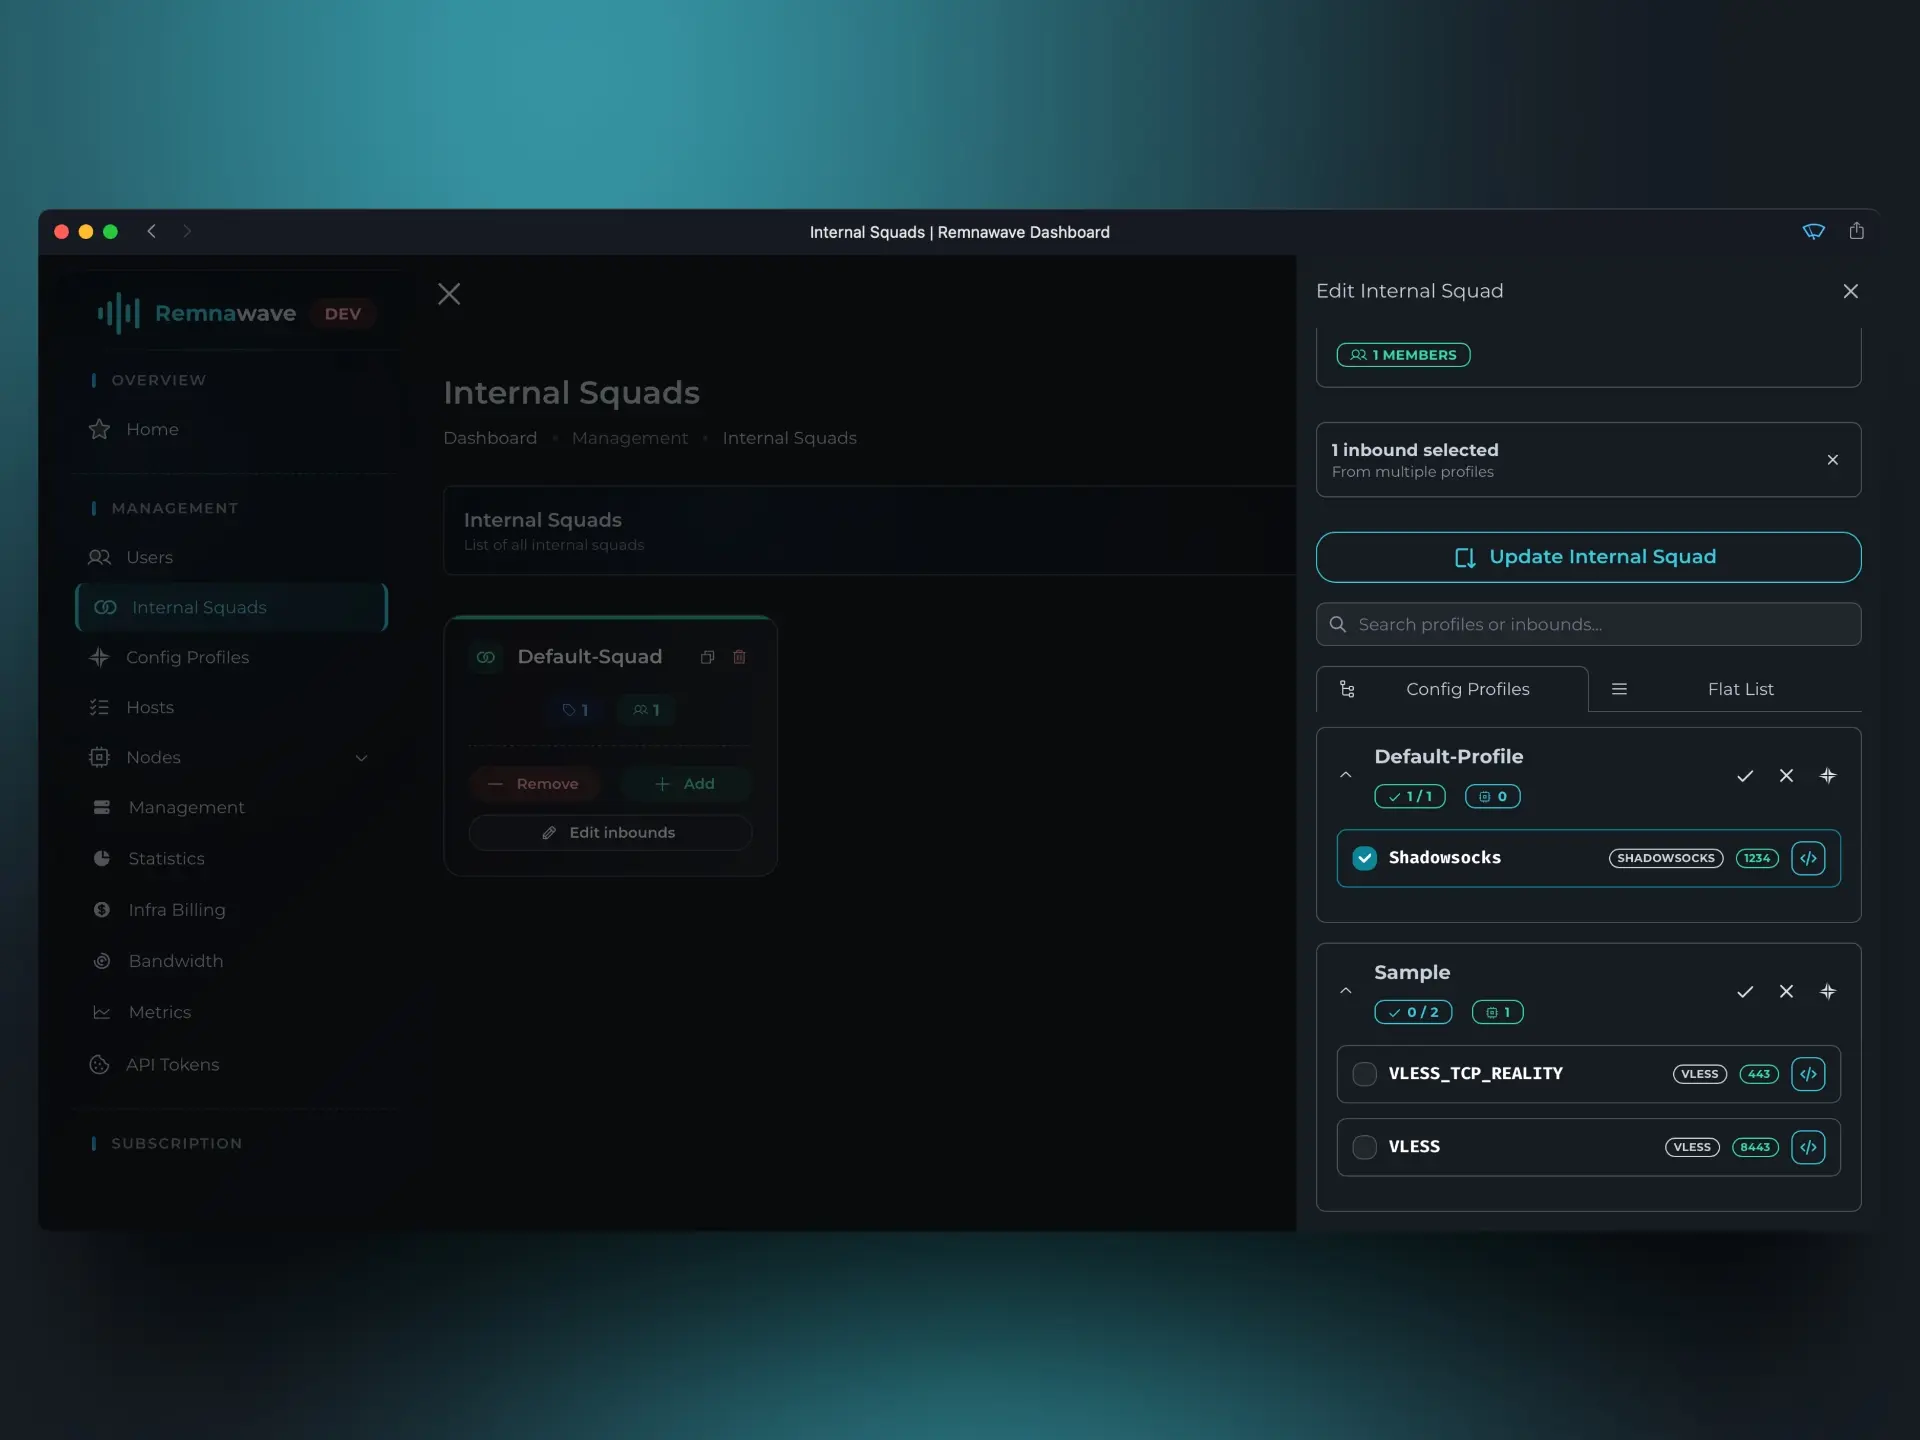
As you can see, only the Shadowsocks Inbound is currently enabled.
Let’s enable the remaining Inbounds from the new Profile.
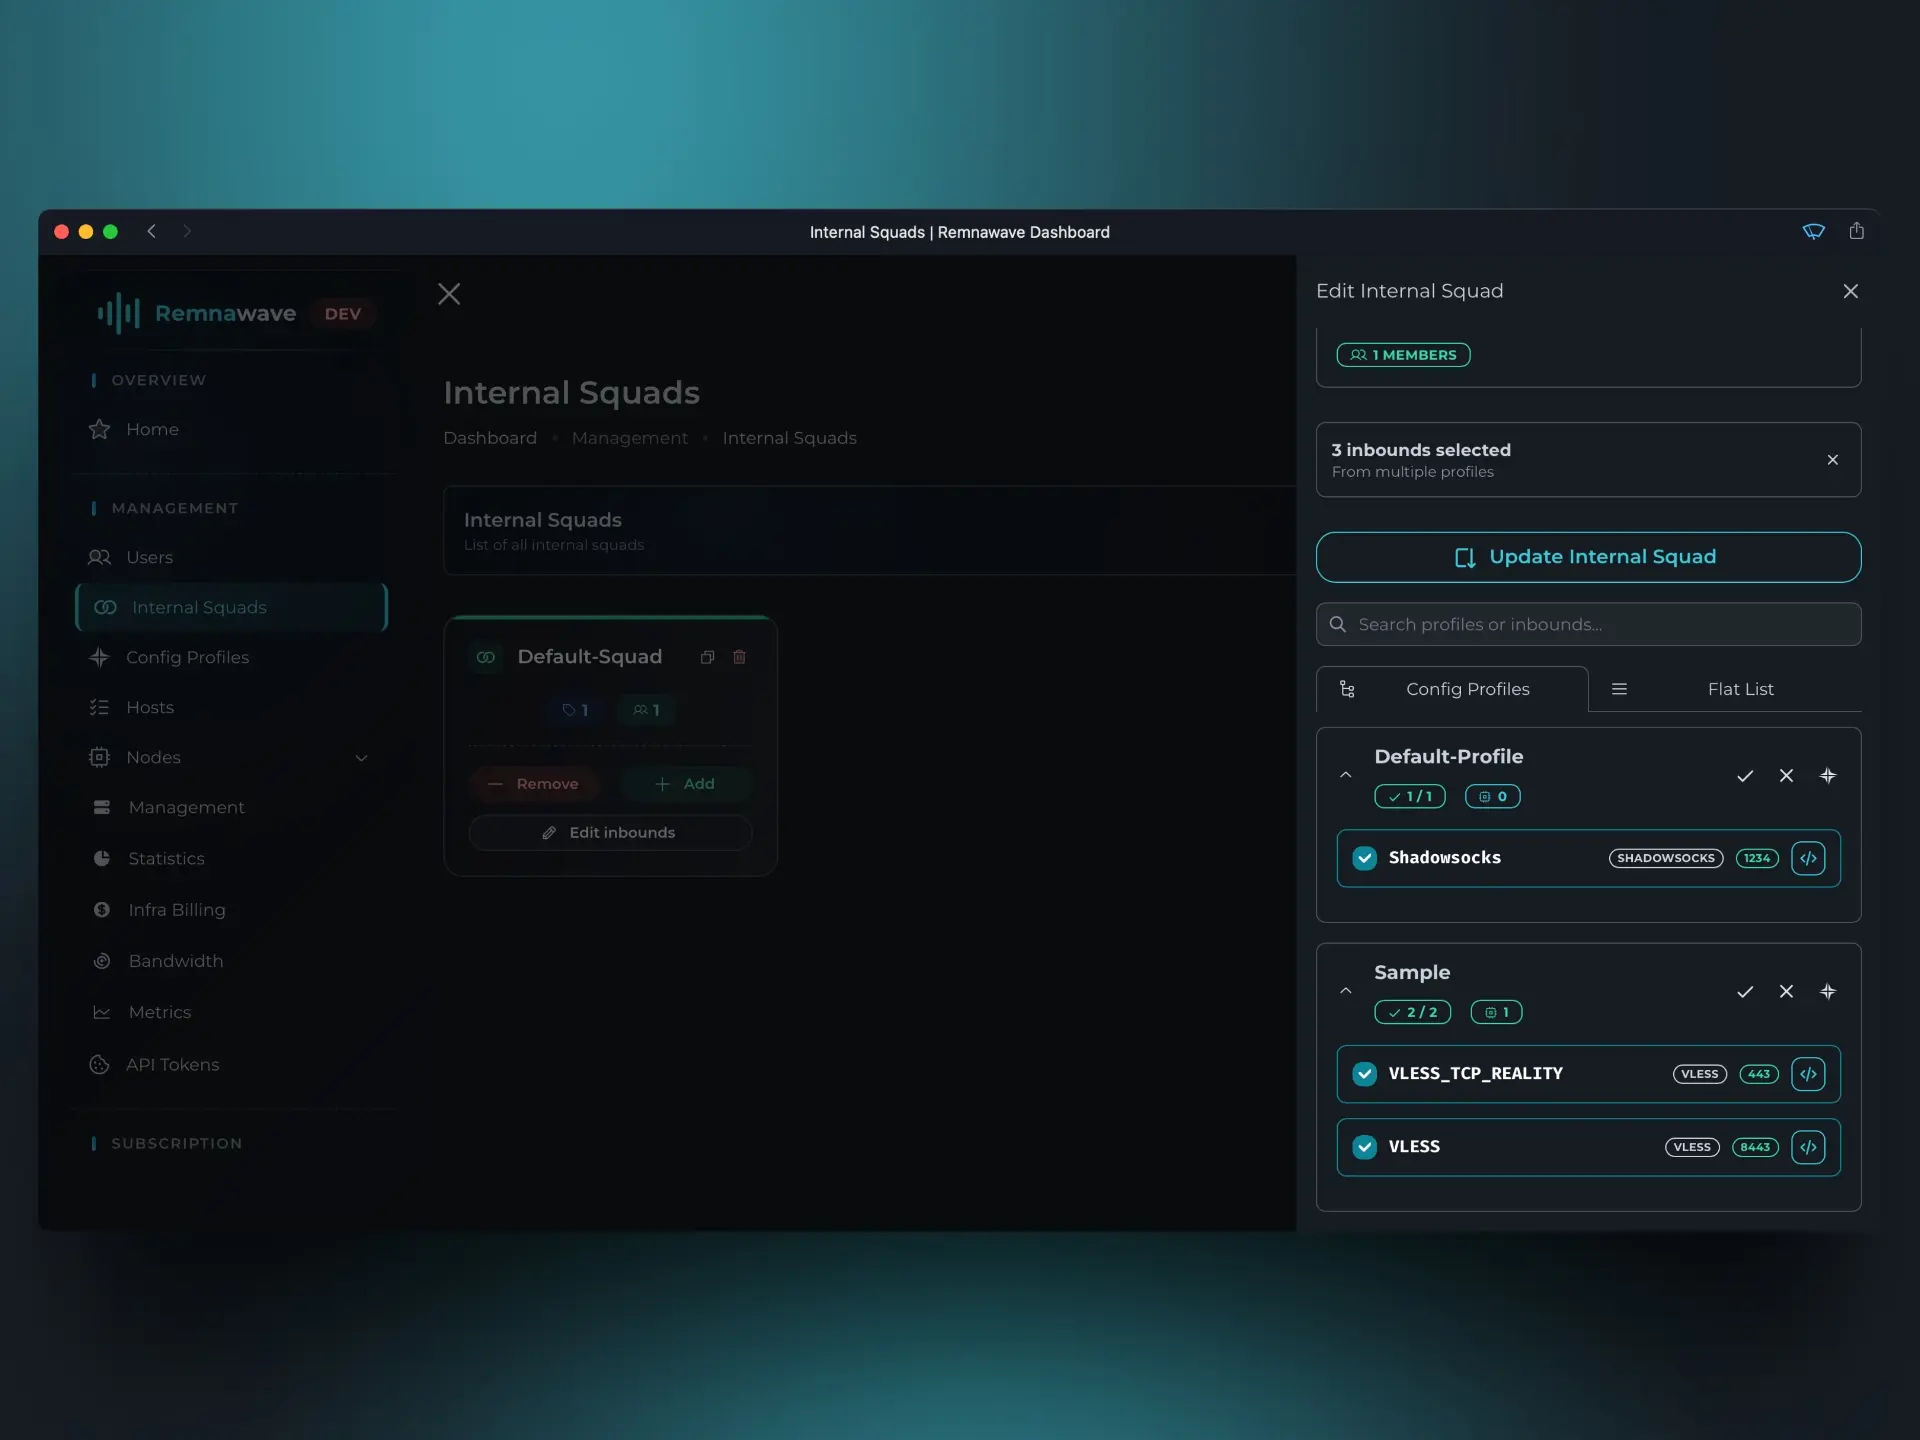
Now that everything is set, click Save to apply the changes and finish creating your custom Config Profile.
📄️ Templates
Define what client applications receive.