Hosts
Think of a Host as the gateway that directs users to your Nodes.
When users get a subscription URL and add it to their client app, the app fetches a list of available Hosts. Each Host contains the connection details like server address and port, guiding the user to the right Node.
Here’s how it works:
- The user receives a subscription URL and imports it into the client app.
- The client app retrieves a list of available Hosts.
- The user picks a Host, which connects them to the associated Node.
For example, you could create a Host named “Finland” and configure it to serve only Finnish nodes. When a user selects “Finland” in their client app, their traffic will be routed through those Finnish nodes.
Create a Host
Navigate to the Hosts section and click Create new host.
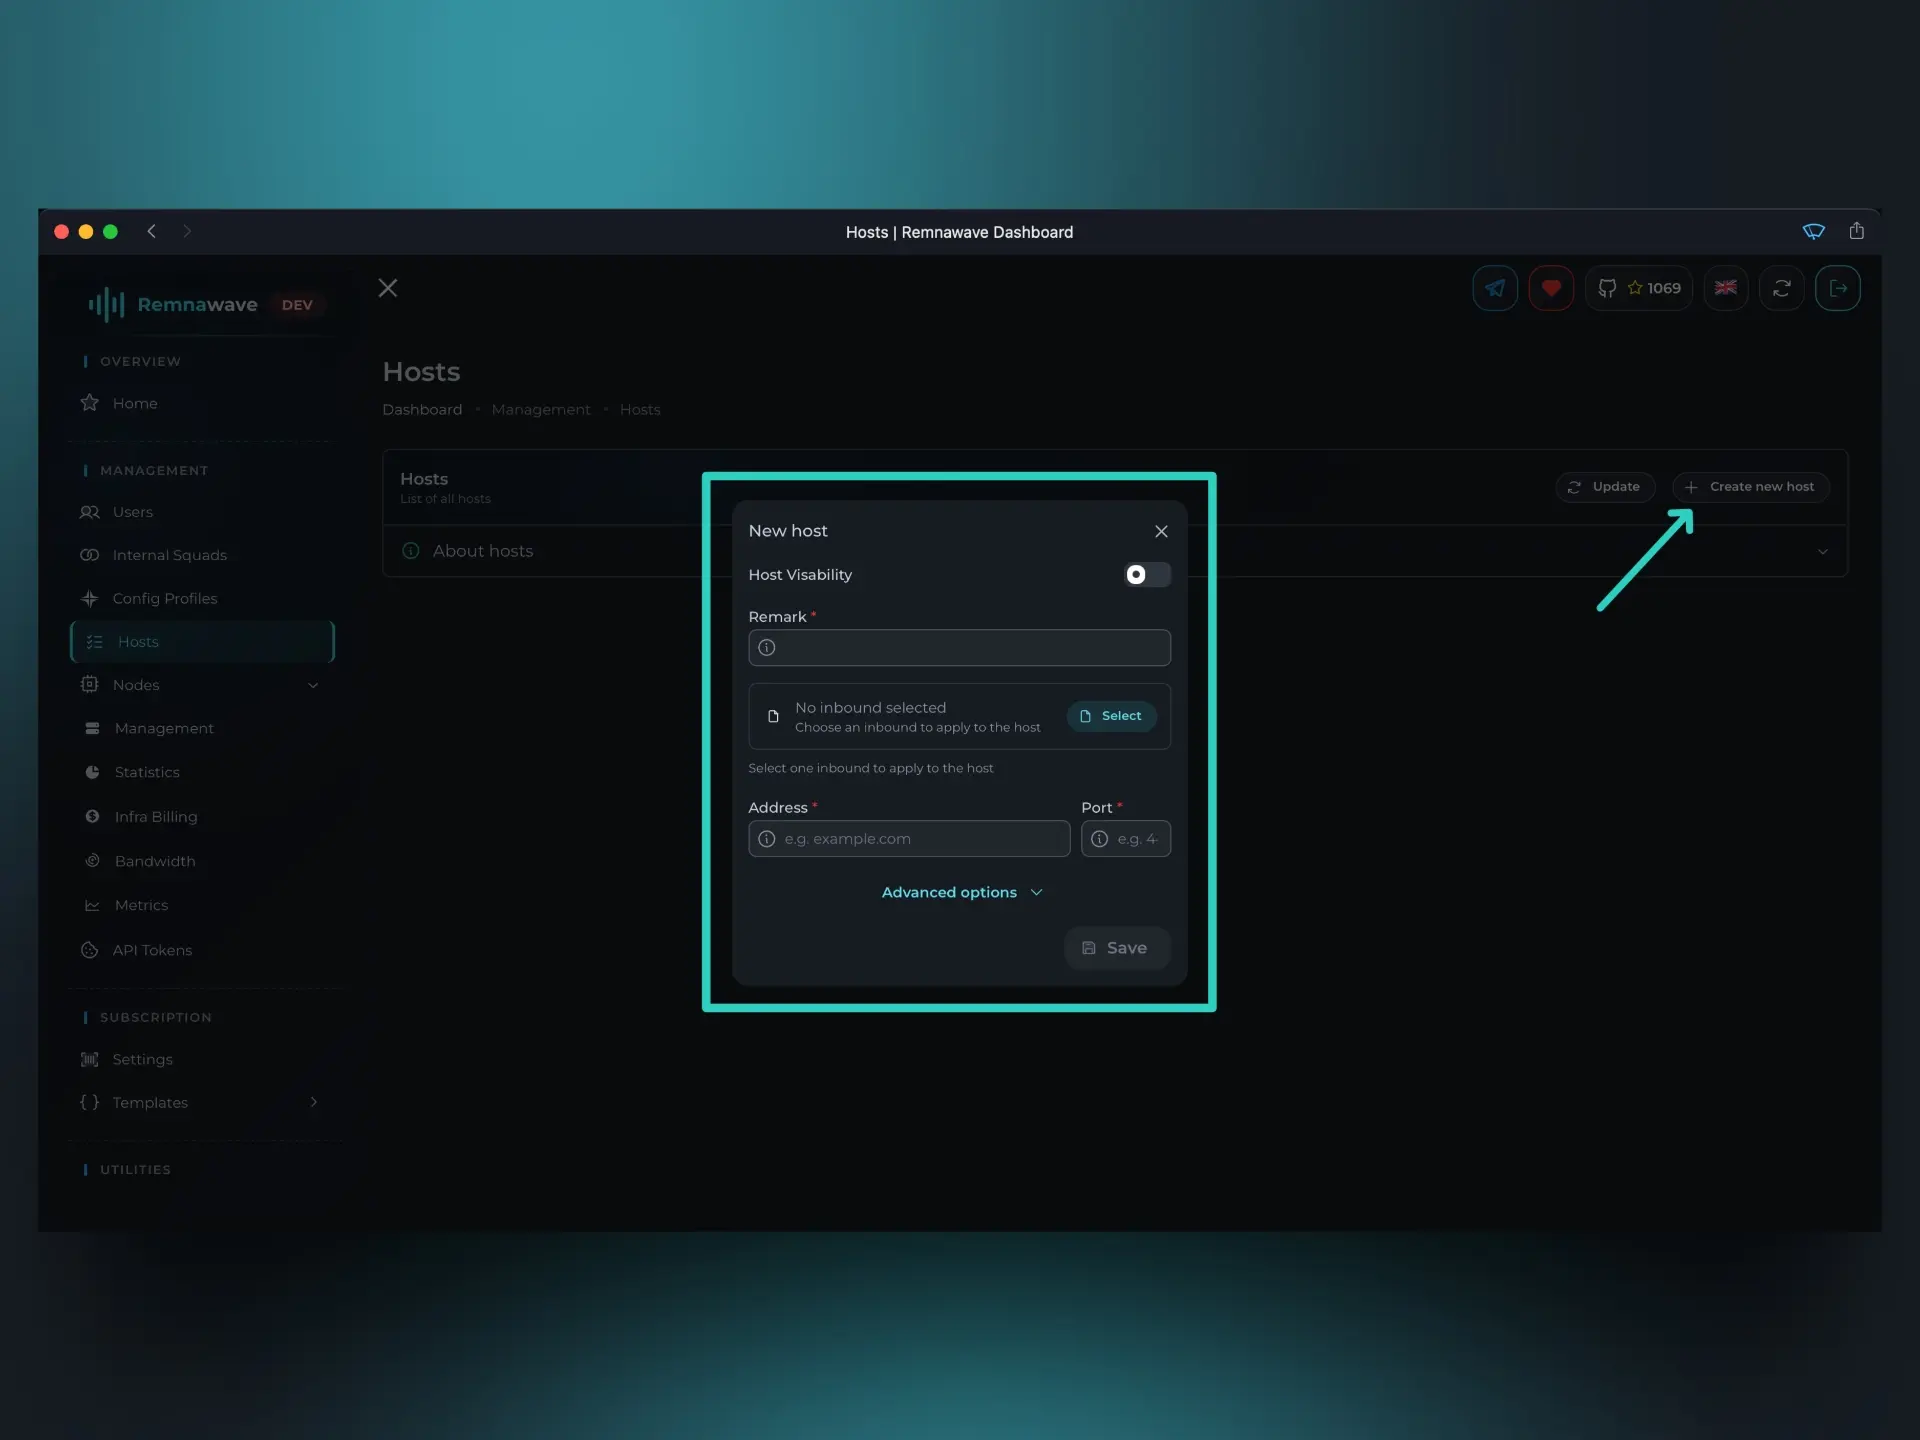
This will open a modal window where you can configure the Host.
Host visibility– Controls whether the Host is available to users.
For example, you can create a Host but leave it disabled. In this case, it won’t appear in the user’s subscription, and client applications won’t be able to access it.Remark– This is the name of the host that will be displayed in the dashboard.
For instance, if the Host uses only Finnish nodes, you might name it "Finland" to reflect that.
Select an Inbound
Before assigning the Host to a Node, you must first select the Inbound it will be associated with. You can only assign one Inbound for each Host.
Click the Select button to choose an Inbound. You’ll see a familiar window listing your existing Config Profiles. This time, you're selecting a specific Inbound from any available Profile.

Let’s choose Shadowsocks and save the selection by clicking Apply changes.
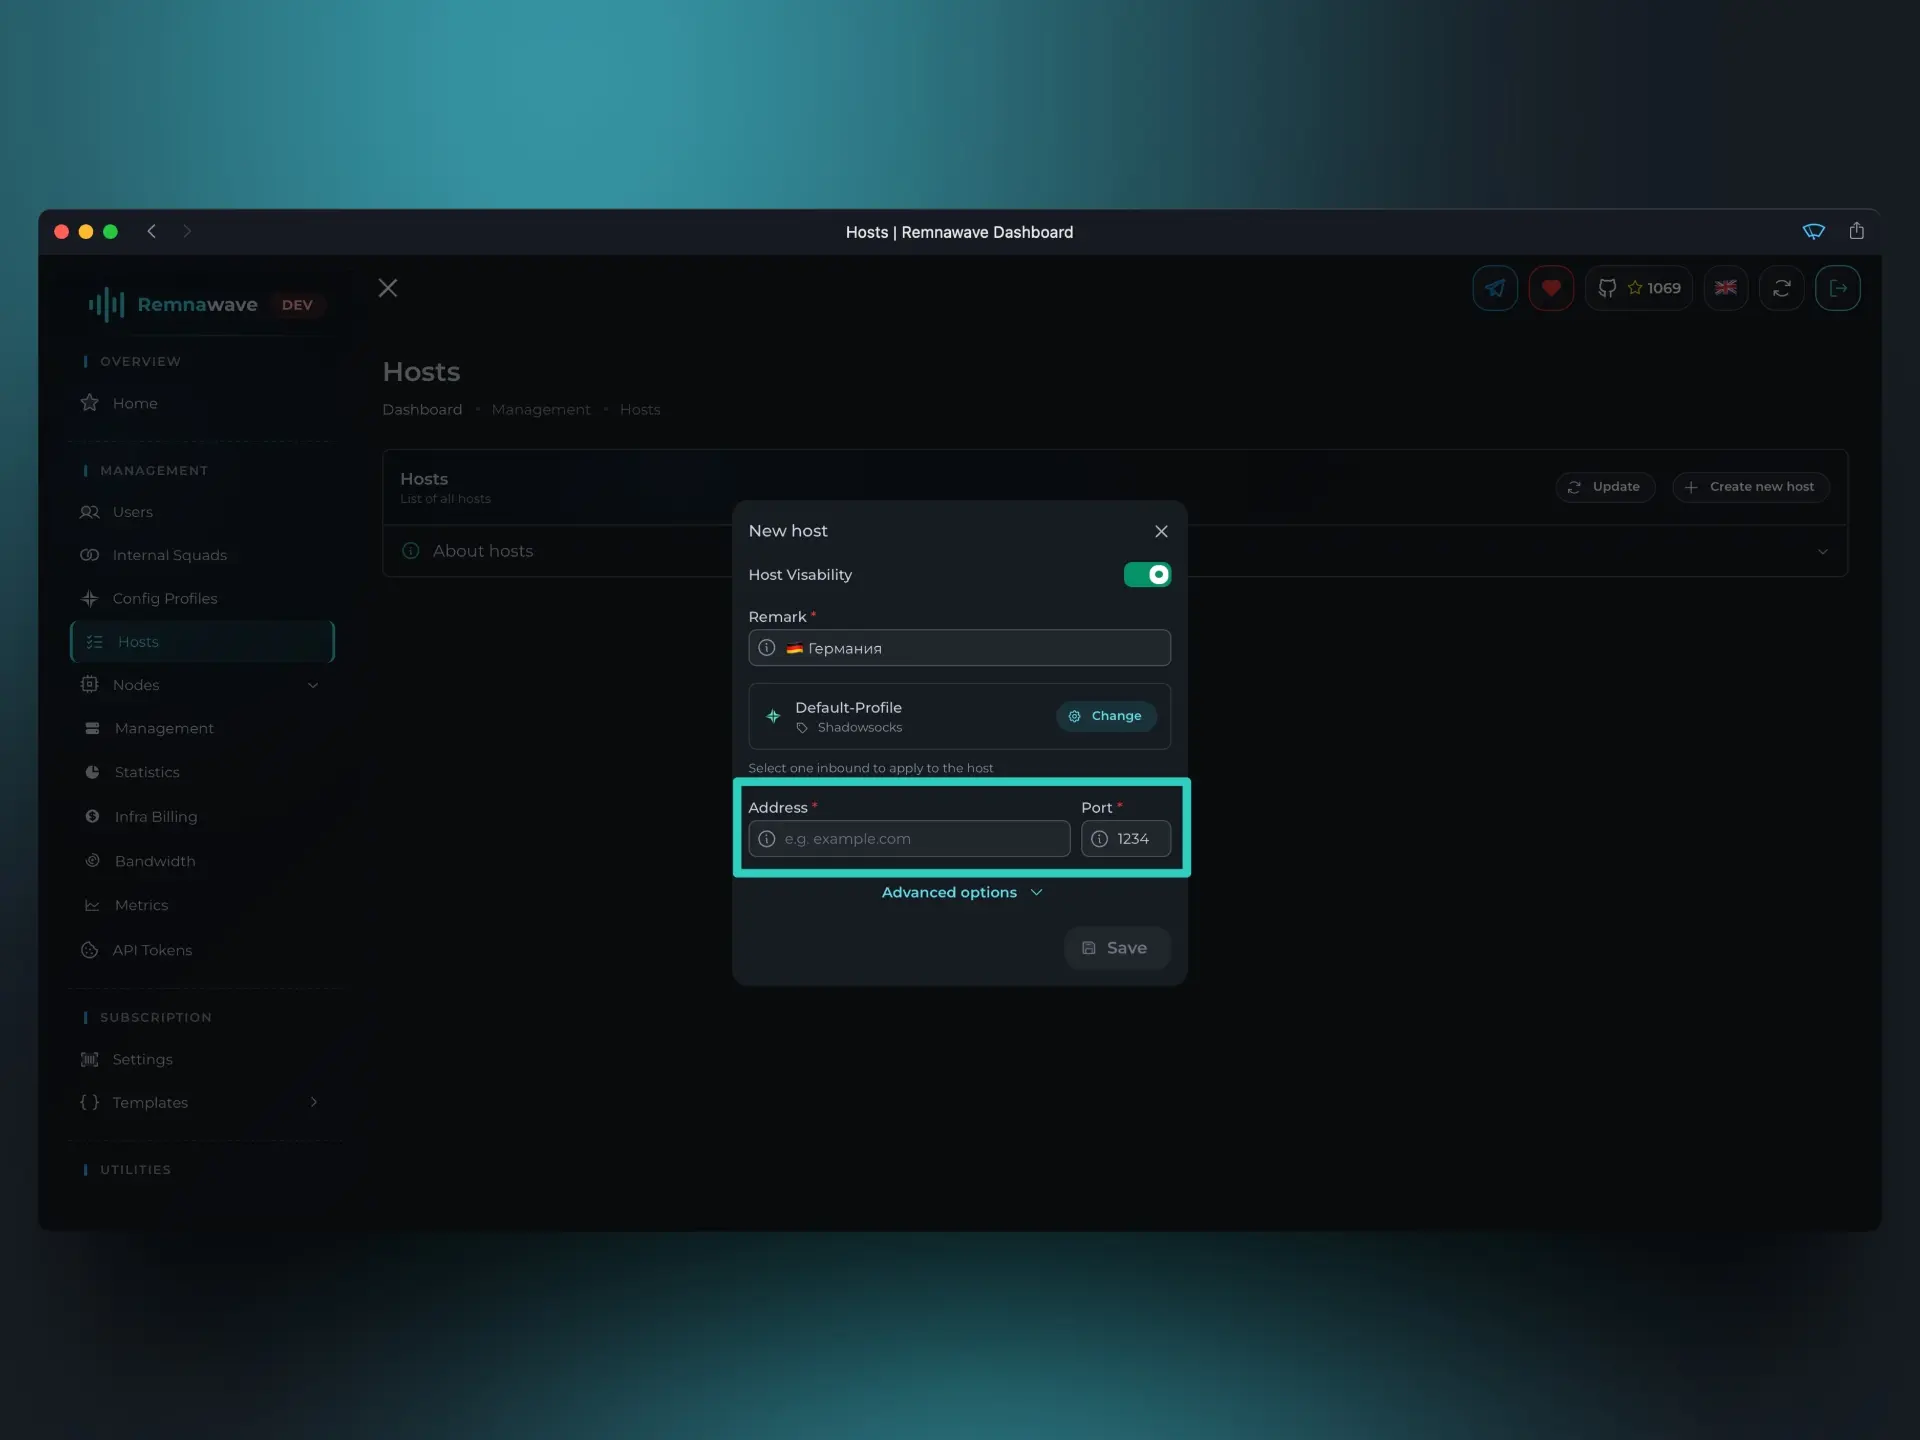
After selecting the Inbound, you may notice that the Port field is automatically populated. That’s expected — the Host inherits its configuration from the selected Inbound, including the port.
In most cases, the Host's port will match the Inbound’s port. However, in certain advanced Xray configurations, they may differ. Remnawave allows for this flexibility when needed.
Assign an Address
The final and arguably most important field is the Address. This defines where users will connect when they select this Host.
You can enter either an IP address or a domain name. However, the address you provide must resolve to the IP of the Node this Host is meant to connect to.
For example:
Let’s say we previously added a Node with the IP address 1.2.3.4.
We then created a DNS A record for node.example.com pointing to that IP: node.example.org → 1.2.3.4
In this case, we can safely use node.example.com as the Host's Address.
While it's technically fine to use an IP address, it’s not ideal in practice. IP addresses can change. If that happens, users will need to refresh their subscription to get the new IP. However, many client applications don’t handle subscription updates reliably.
Using a domain name solves this problem. If the Node’s IP changes, you can simply update the DNS record. The domain stays the same, and users don’t need to take any action.
After filling out all fields, click Save to create a Host.
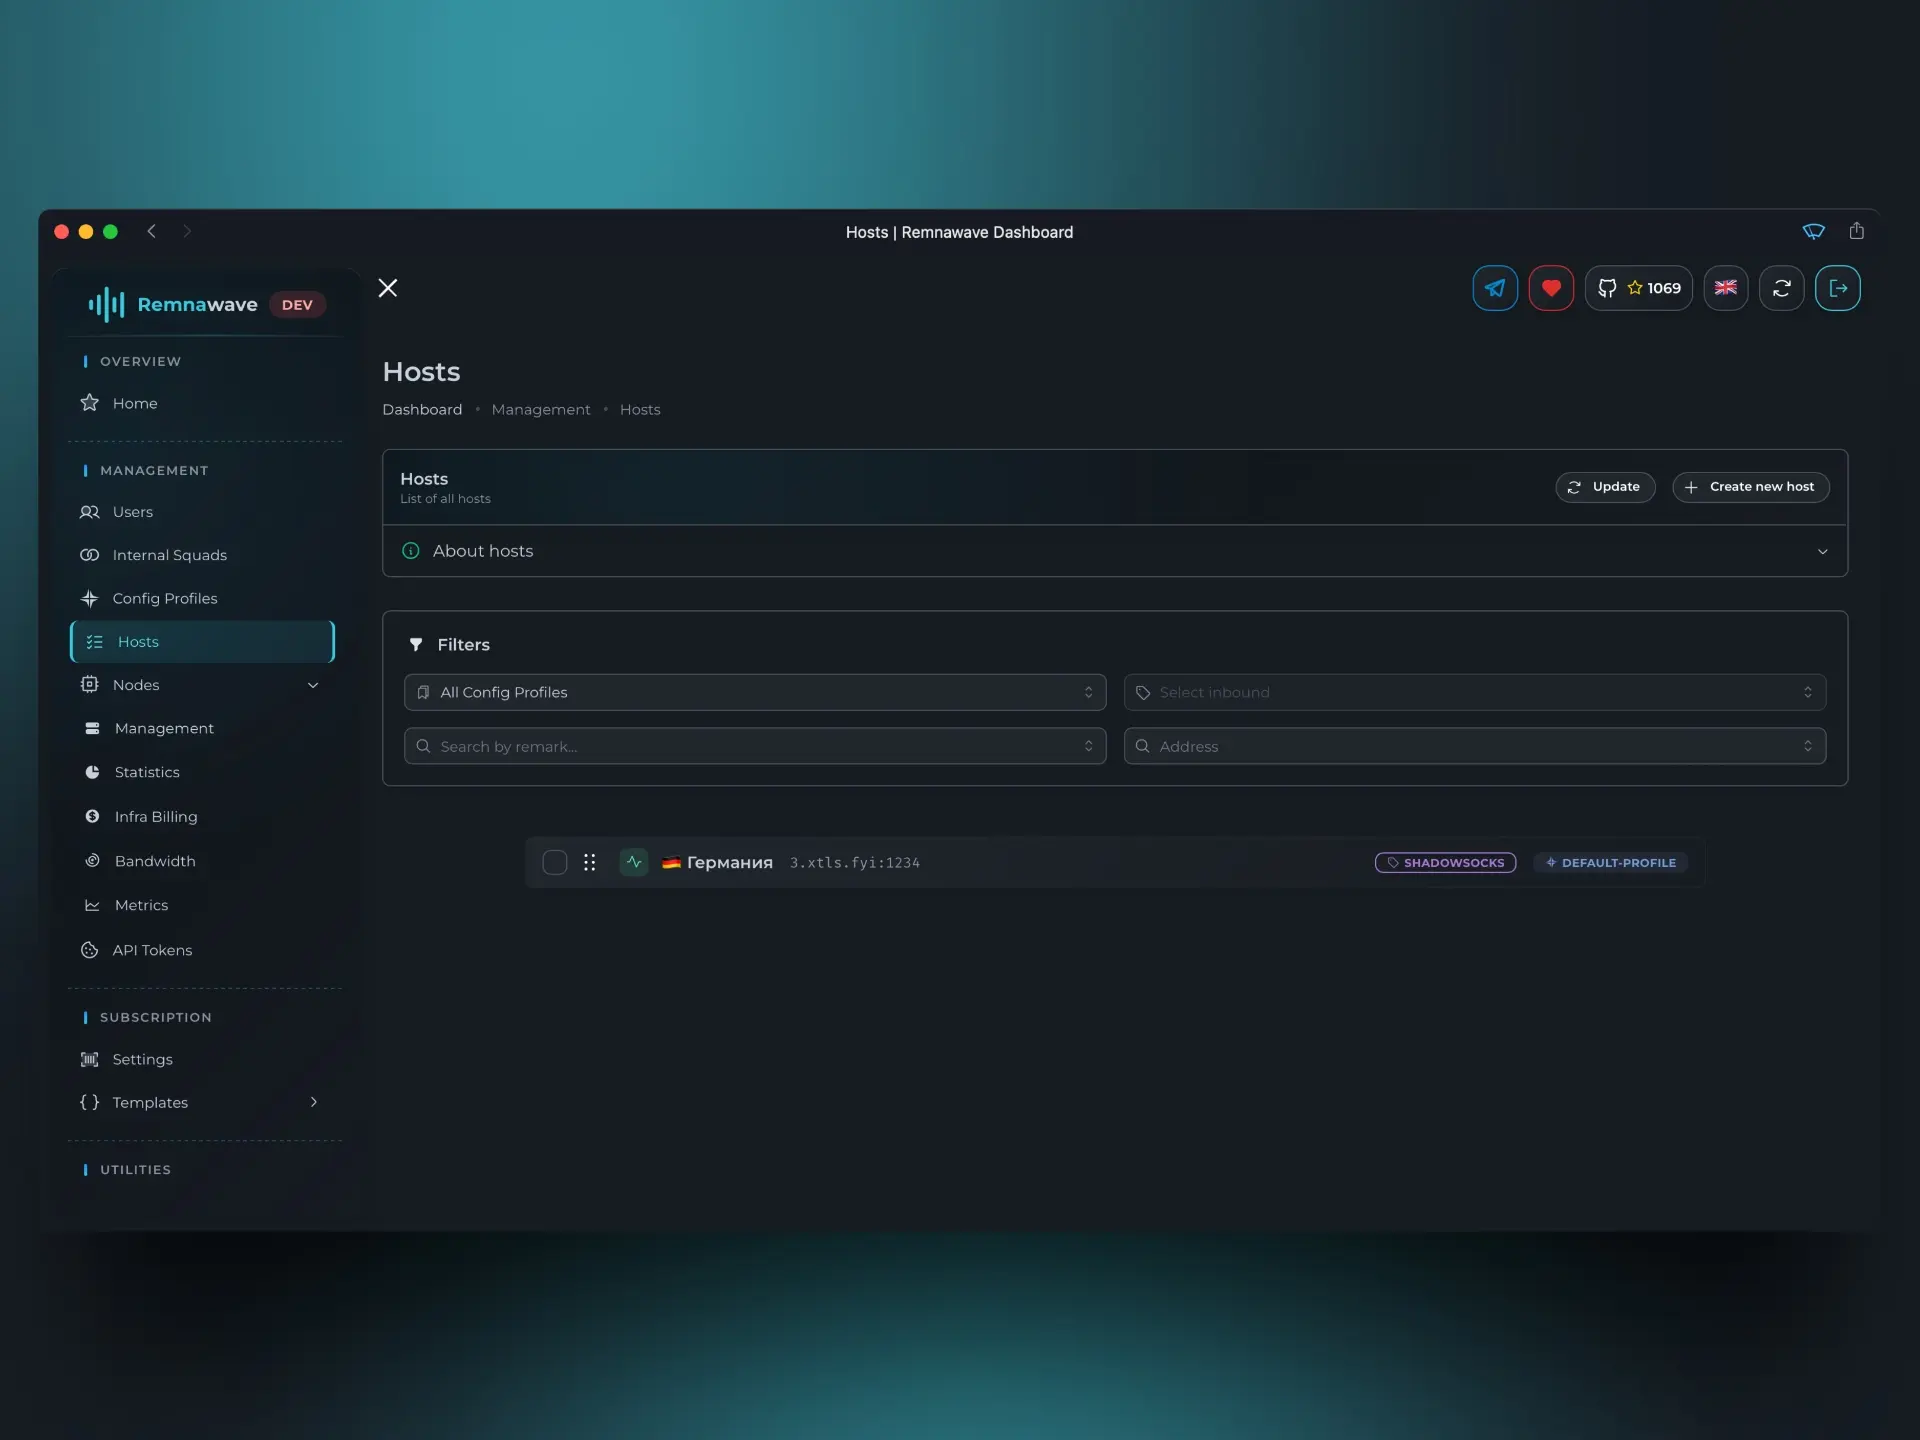
After creating the Host, it will appear in the list. Clicking on it will open the editing window.
Advanced Options
With the main configuration done, the last section to look at is Advanced Options. These settings allow you to override specific parameters inherited from the Inbound’s configuration.
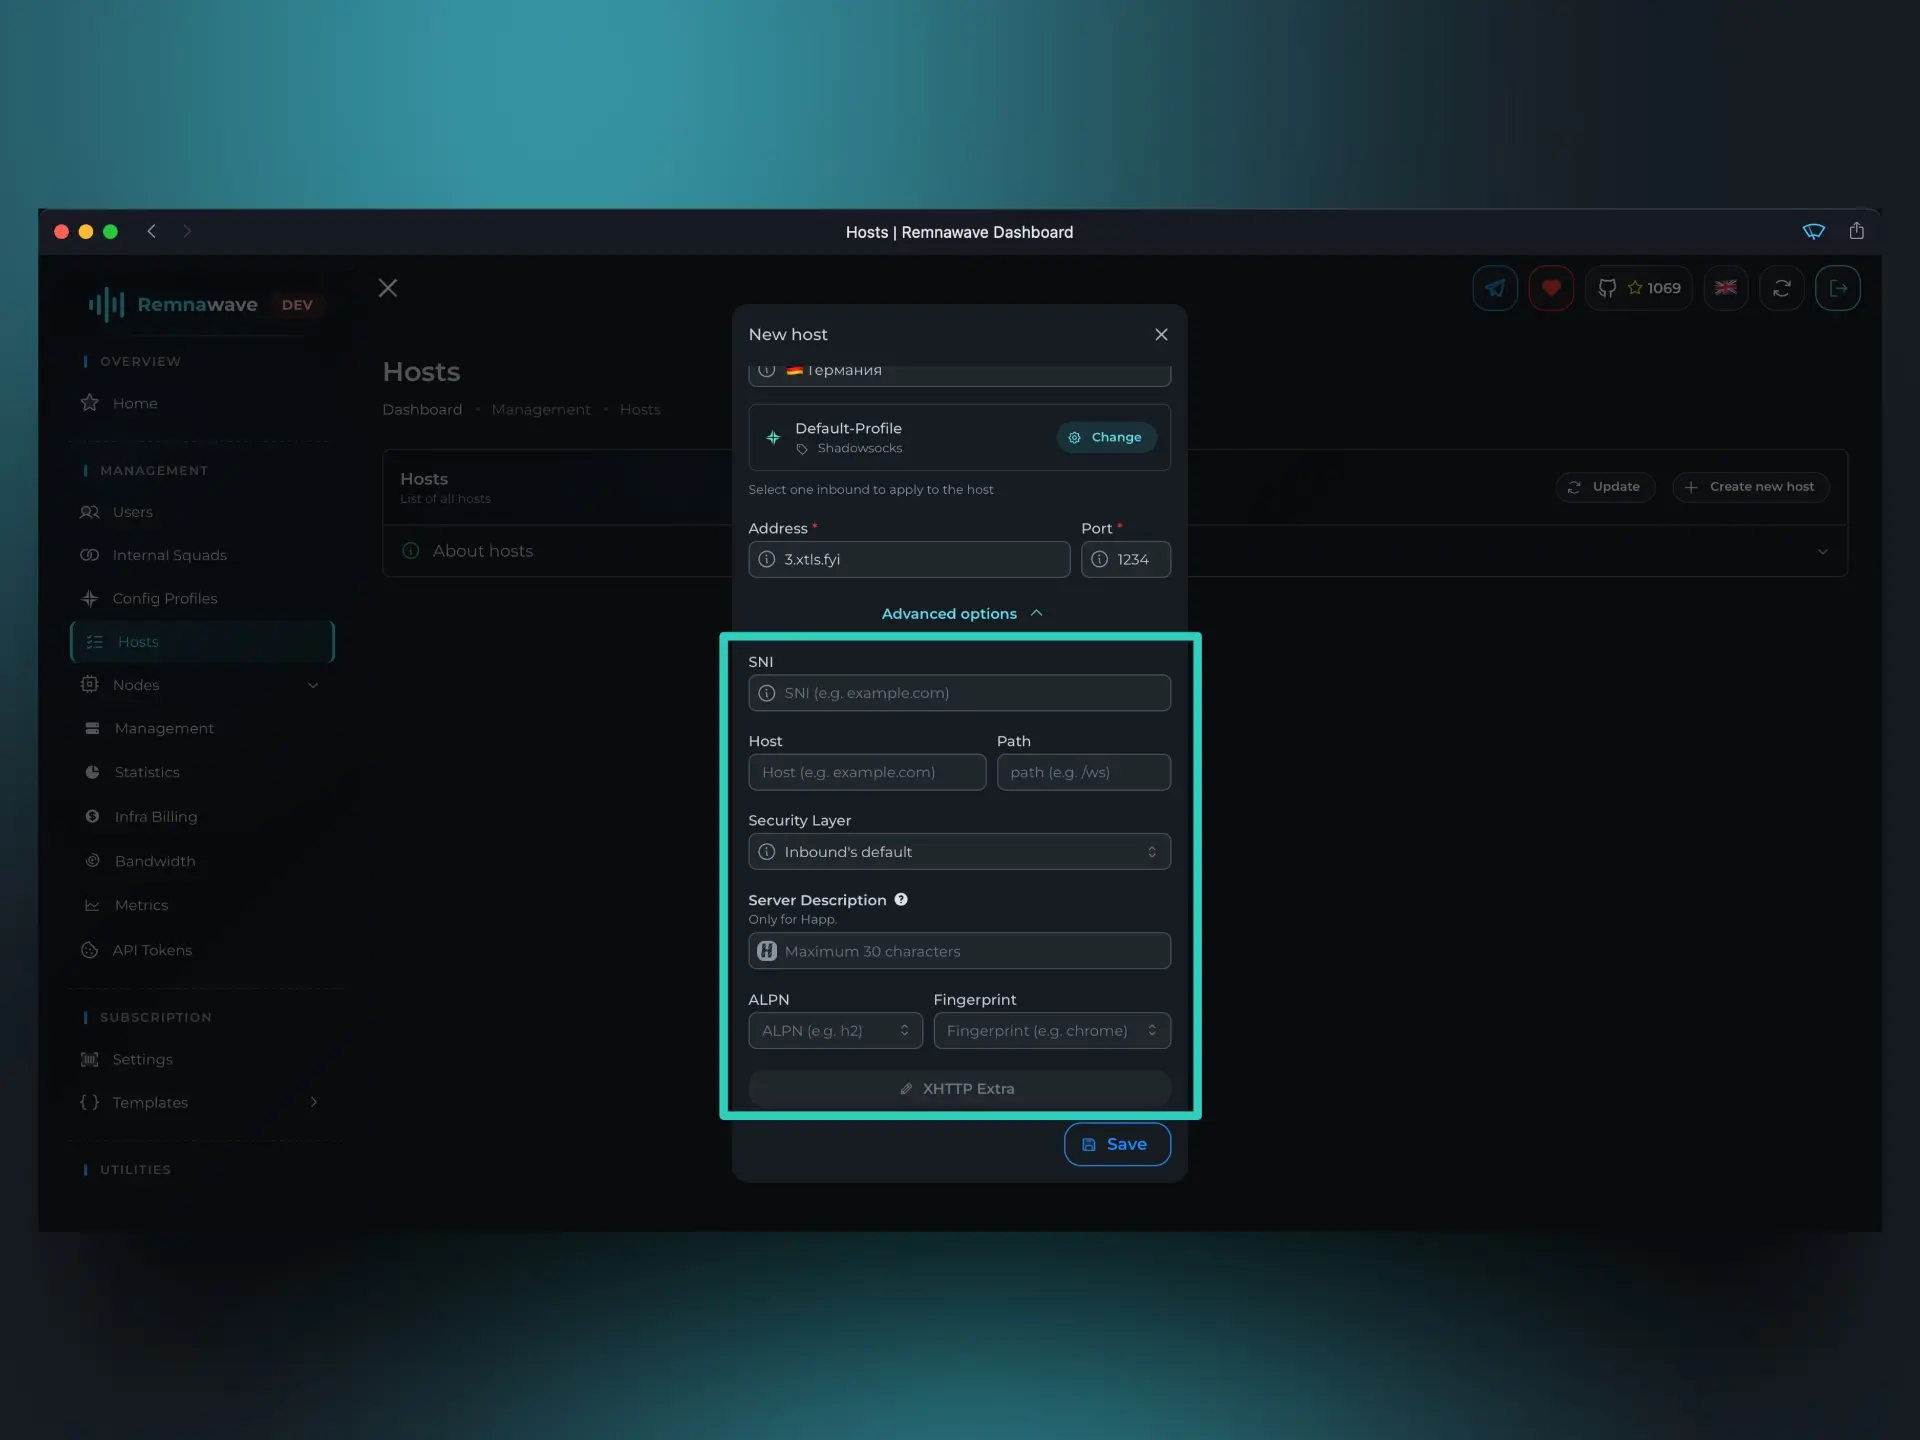
For instance, the SNI field lets you override the serverNames value. If these fields are left empty, Remnawave will fall back to the value defined in the Inbound configuration.
For most use cases, it's best to leave this section as is — unless you're sure of what you're doing.
📄️ Internal Squads
With Hosts created, the next step is to create an Internal Squad.